Start your first vibe site
Quick Start
Use Talizen to generate and publish your first website in minutes. This tutorial demonstrates creating an illustration-style landing page for a design studio.
Step 1: Enter Requirements
In the home page input box, describe the website you want to generate, including style, layout, and functional modules. The more specific your description, the more accurate the result.
Example:
Create a playful doodle-style creative studio landing page.
Style: Hand-drawn doodle UI, bold black outlines Soft off-white background Pastel accent colors (yellow, purple, green, red) Random floating shapes (circles, stars, blobs)
Layout: Navbar with logo + menu + yellow CTA button Hero with large English headline, highlighted keywords, 2 buttons 4 service cards with icons About section with playful typography Story card with sticker-like decorations Team section with illustrated avatars Process section with 4 steps connected by dashed line
UI details: Rounded cards, thick borders Slight irregular / imperfect layout Fun, creative, friendly vibe
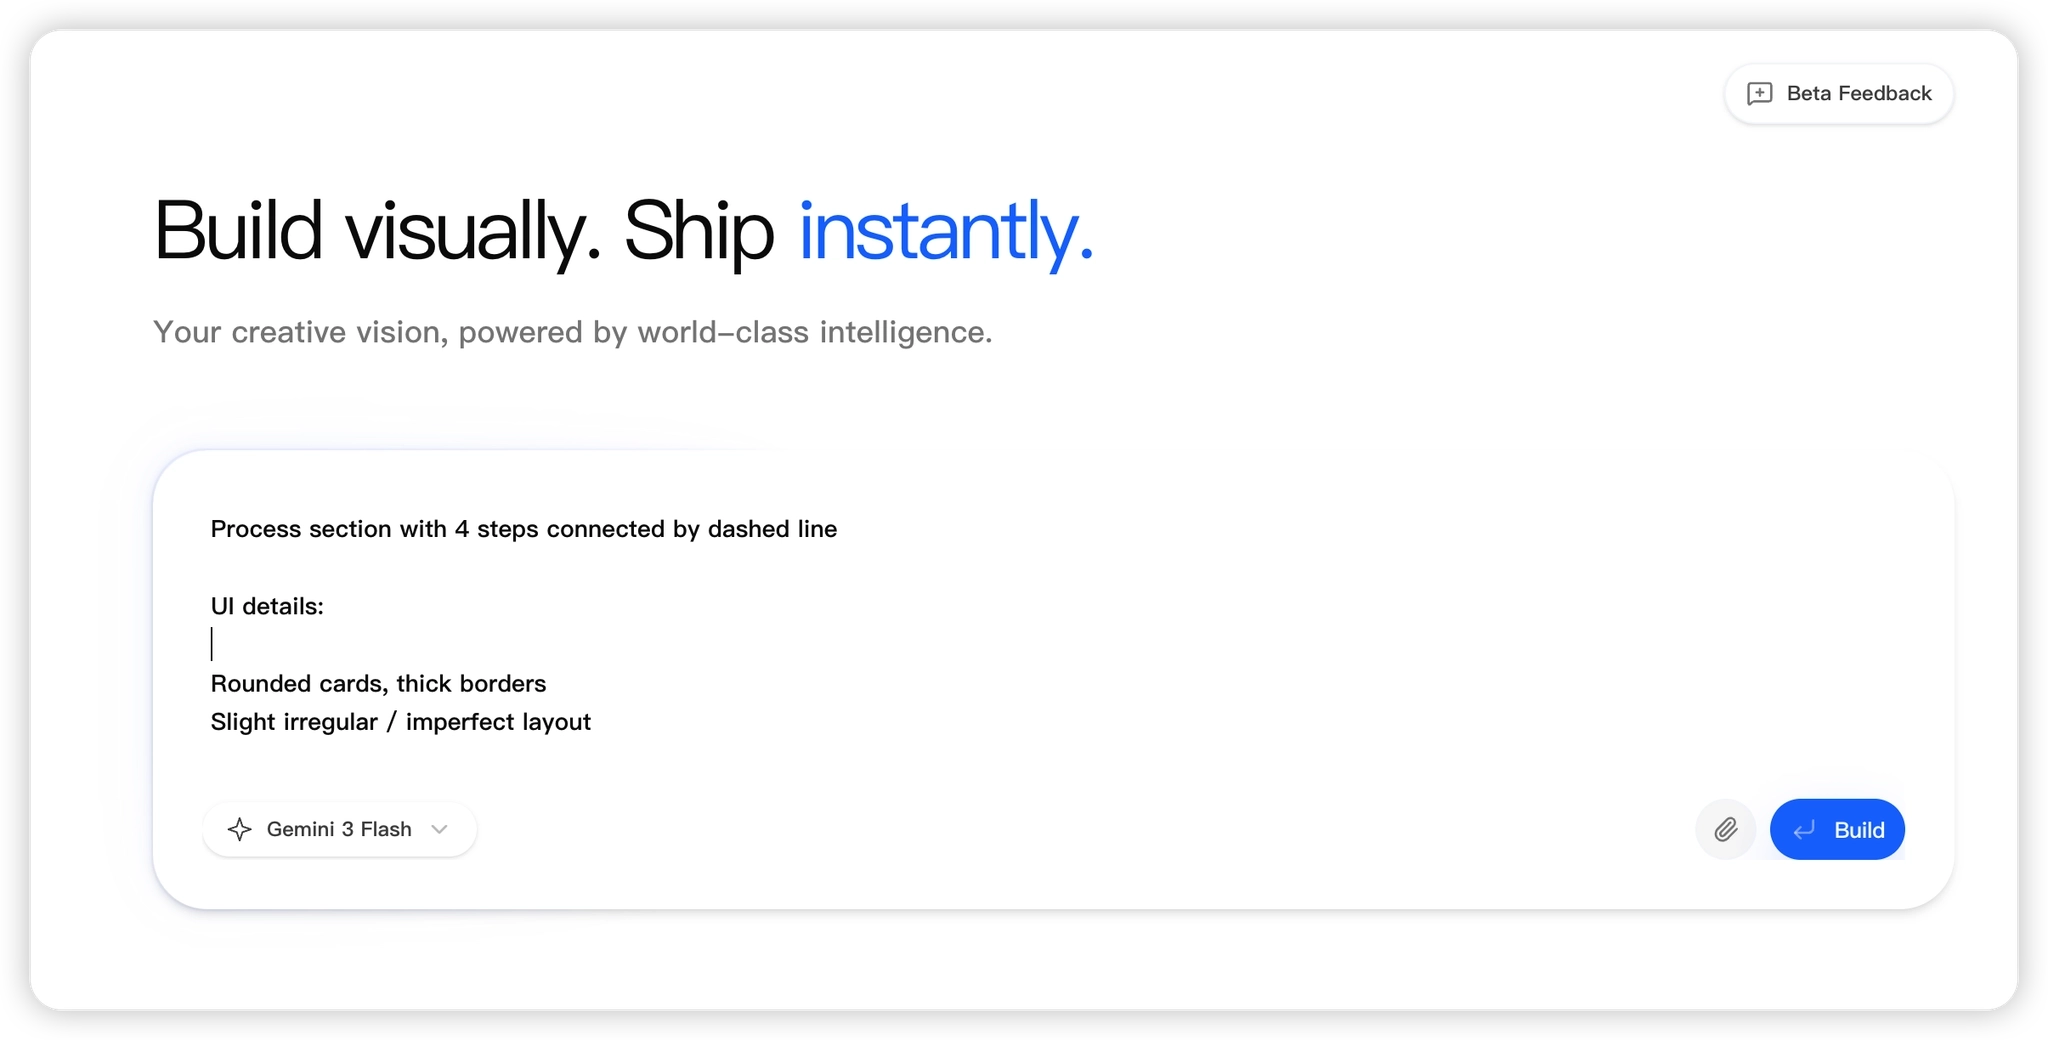
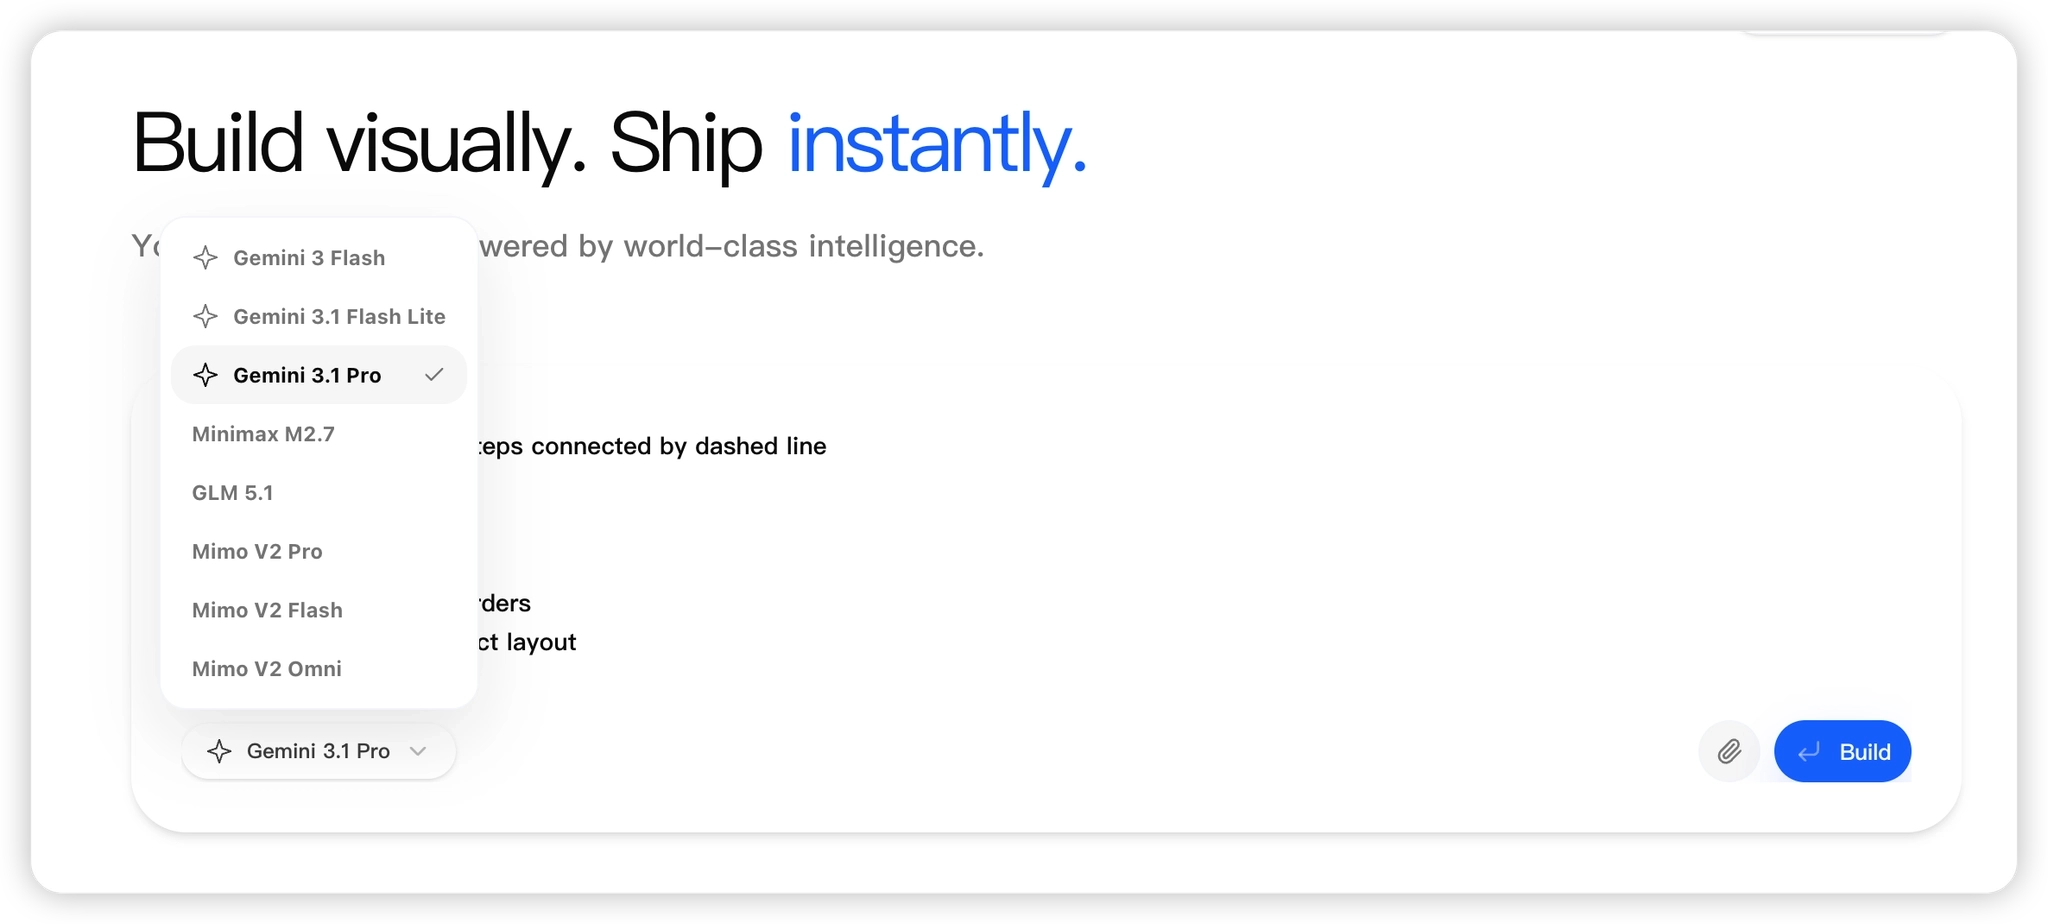
2. Select a model (e.g., Gemini 3, Gemini 3.1, minmax2.7, MimoV2)
3. Click Build in the bottom right to start generating.
Step 2: Generate Page
After receiving your request, Talizen begins requirement analysis and step-by-step code production.
Once finished, the page appears in the canvas.
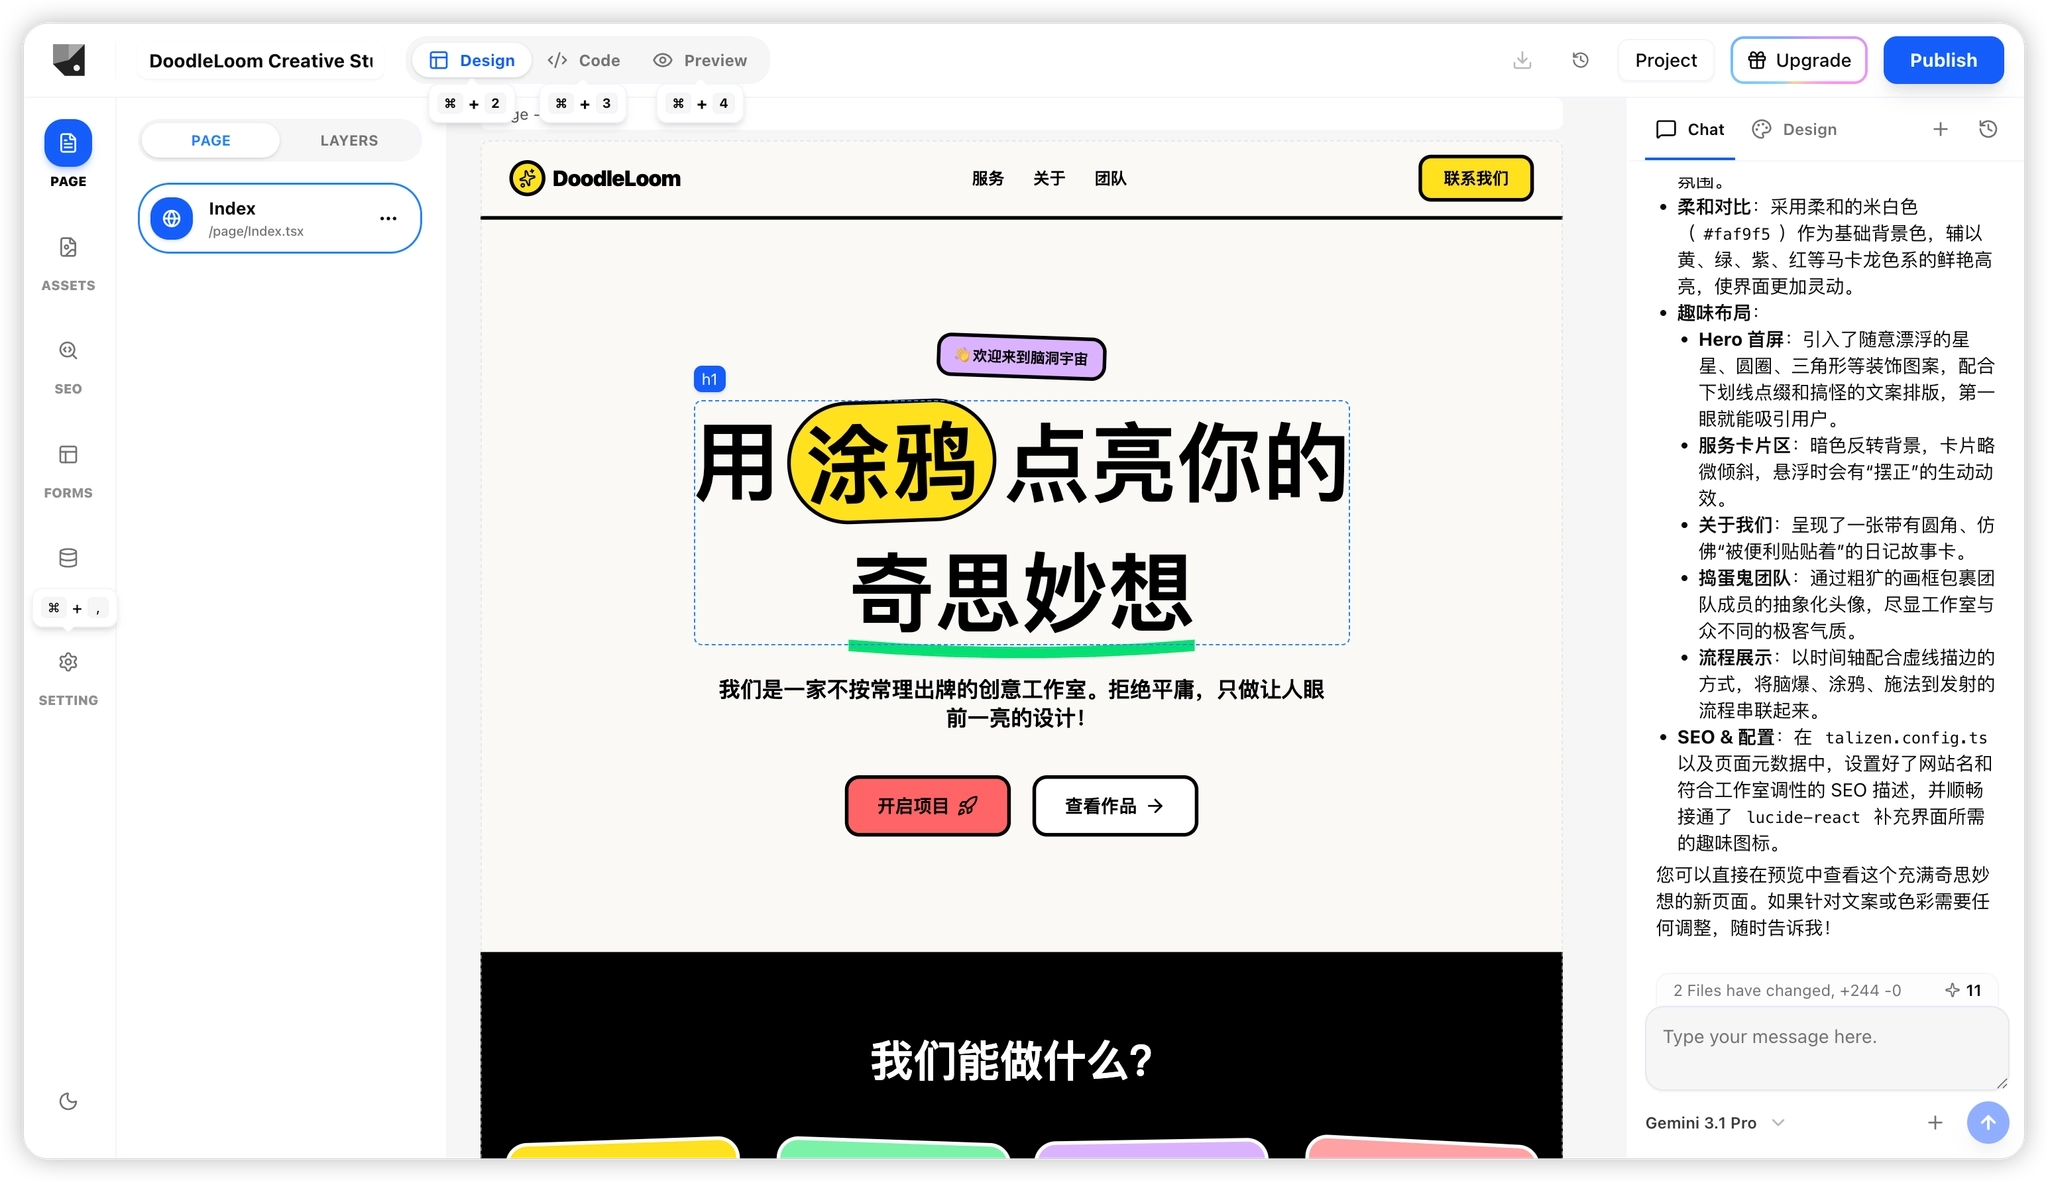
To make adjustments, simply chat to add or modify requirements; the system updates based on the current page.
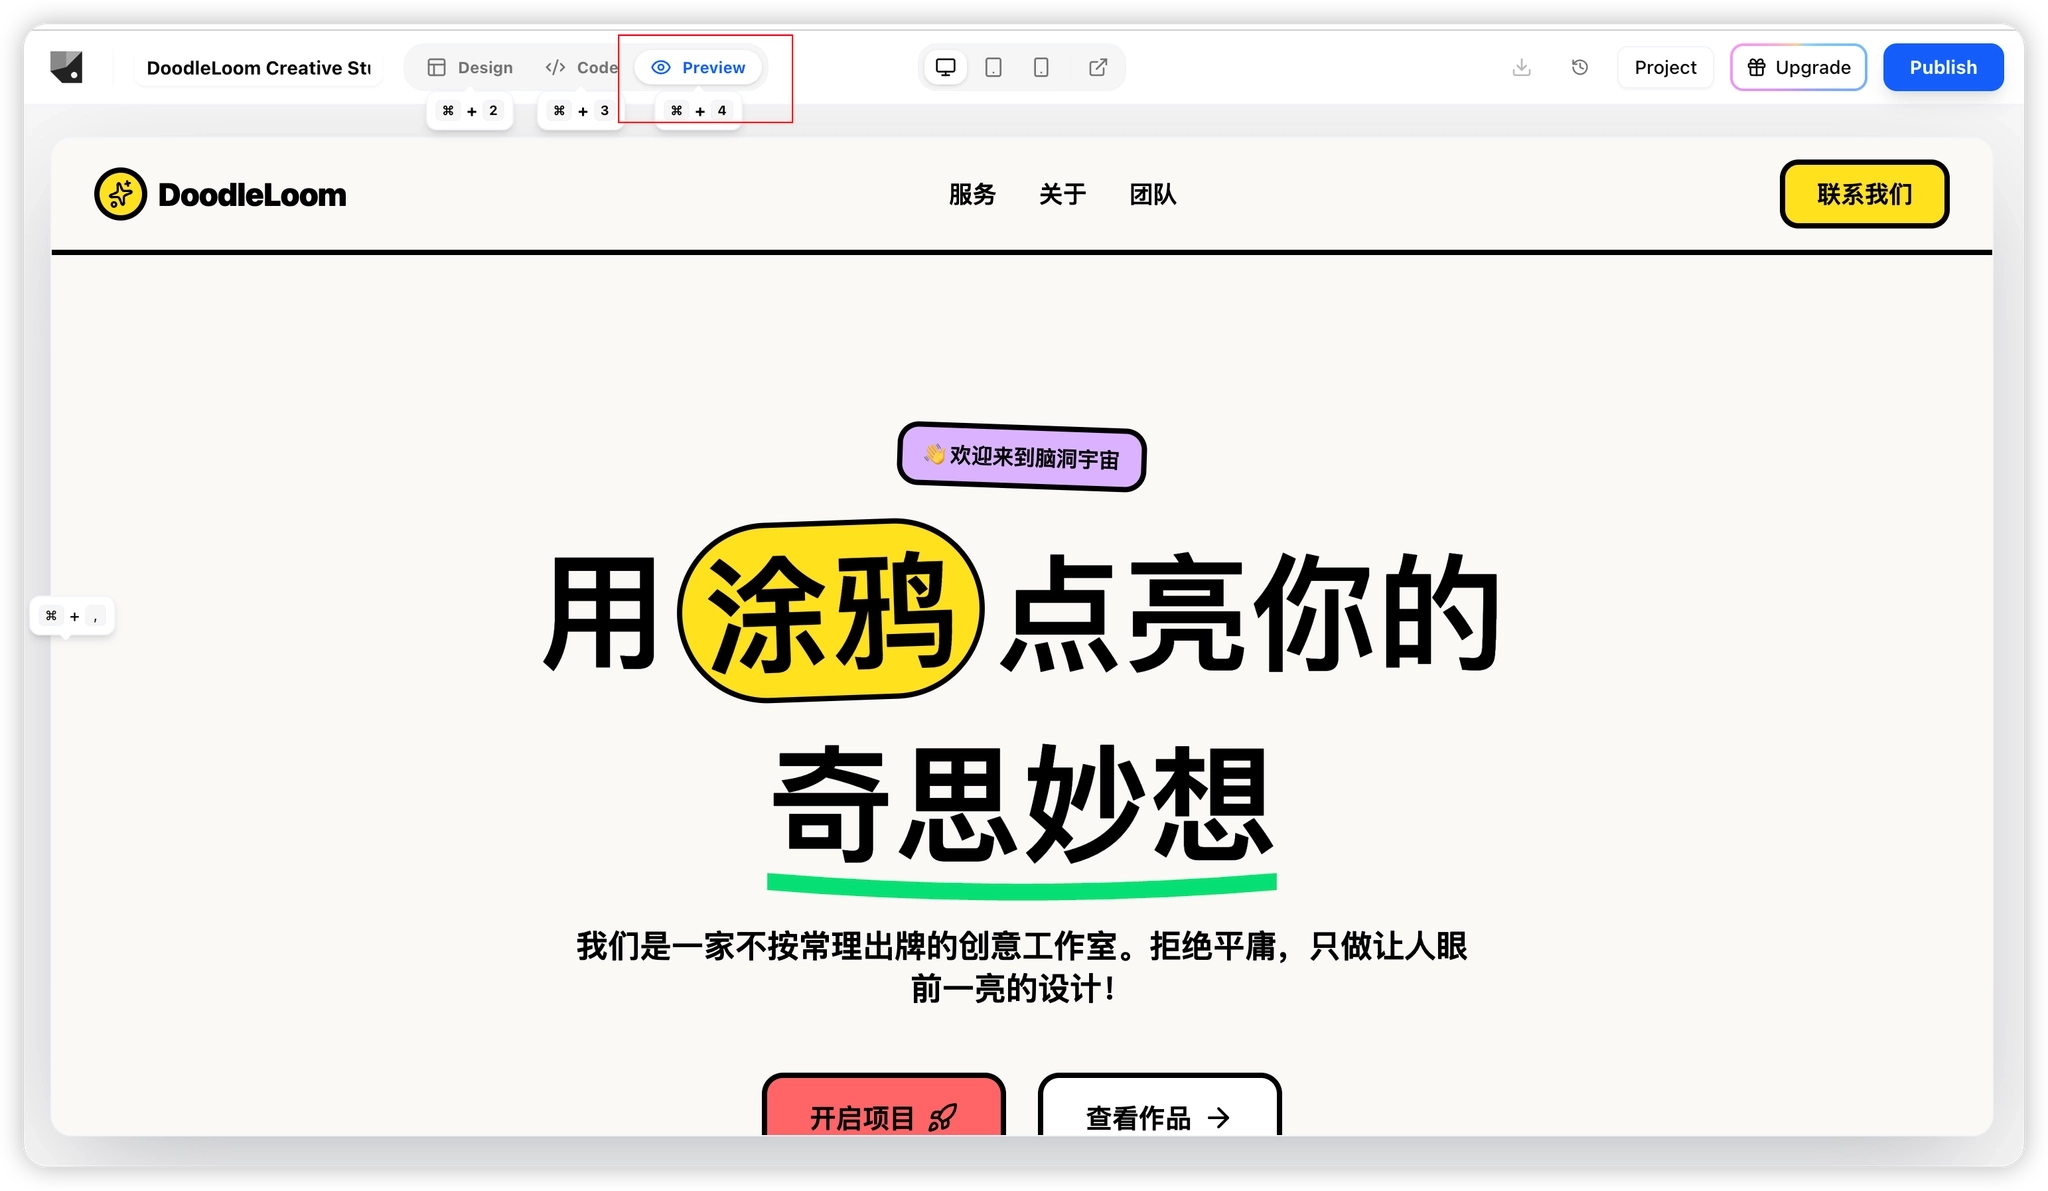
Click Preview in the top left to see the live rendering.
Step 3: Adjust & Expand
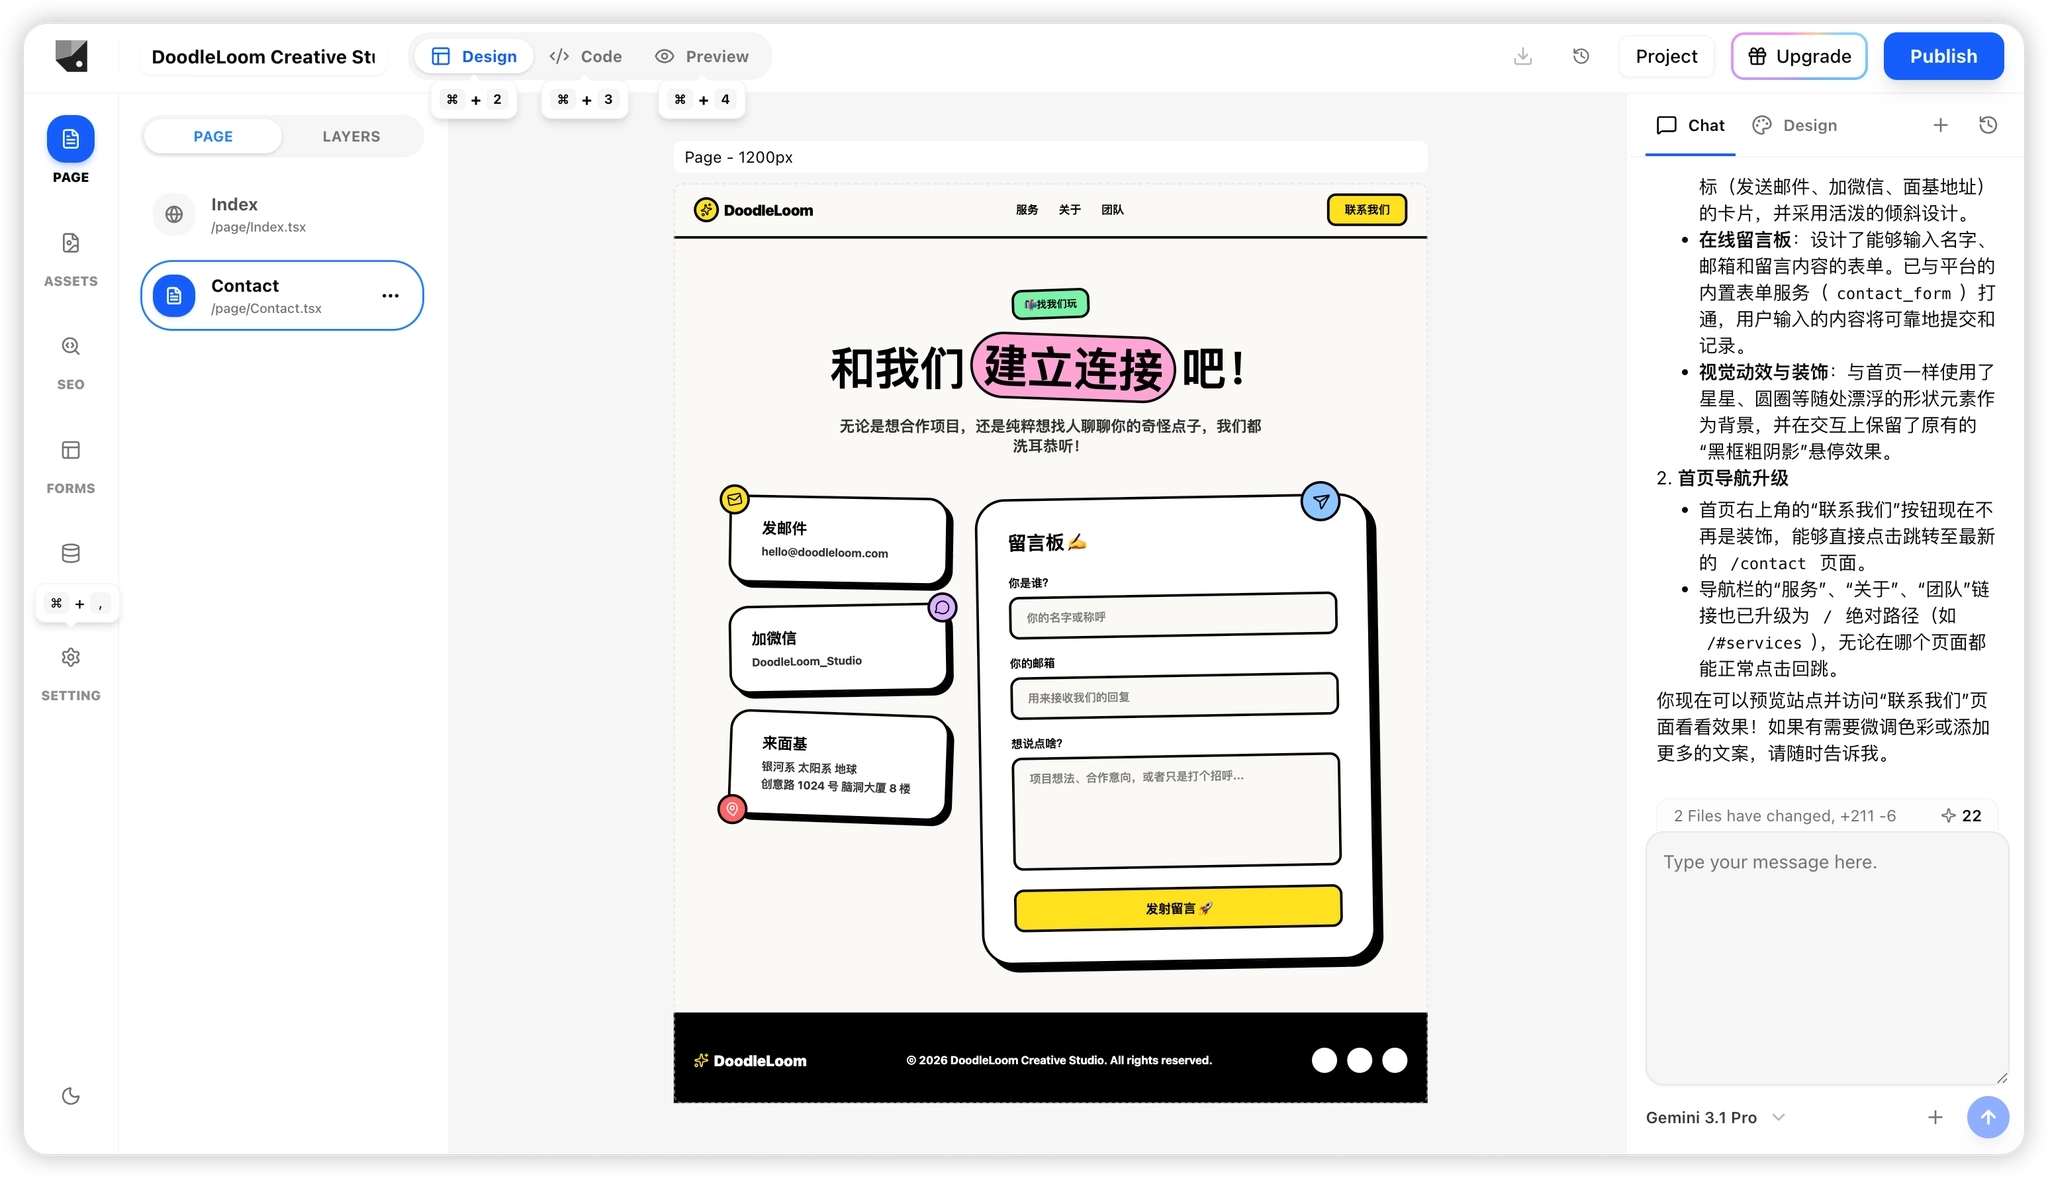
Enhance your site through continuous dialogue, such as adding a standalone "Contact Us" page:
Generate a standalone Contact Us page that maintains the same visual style as the homepage.
The page should include:
Email address
Physical address
WeChat contact
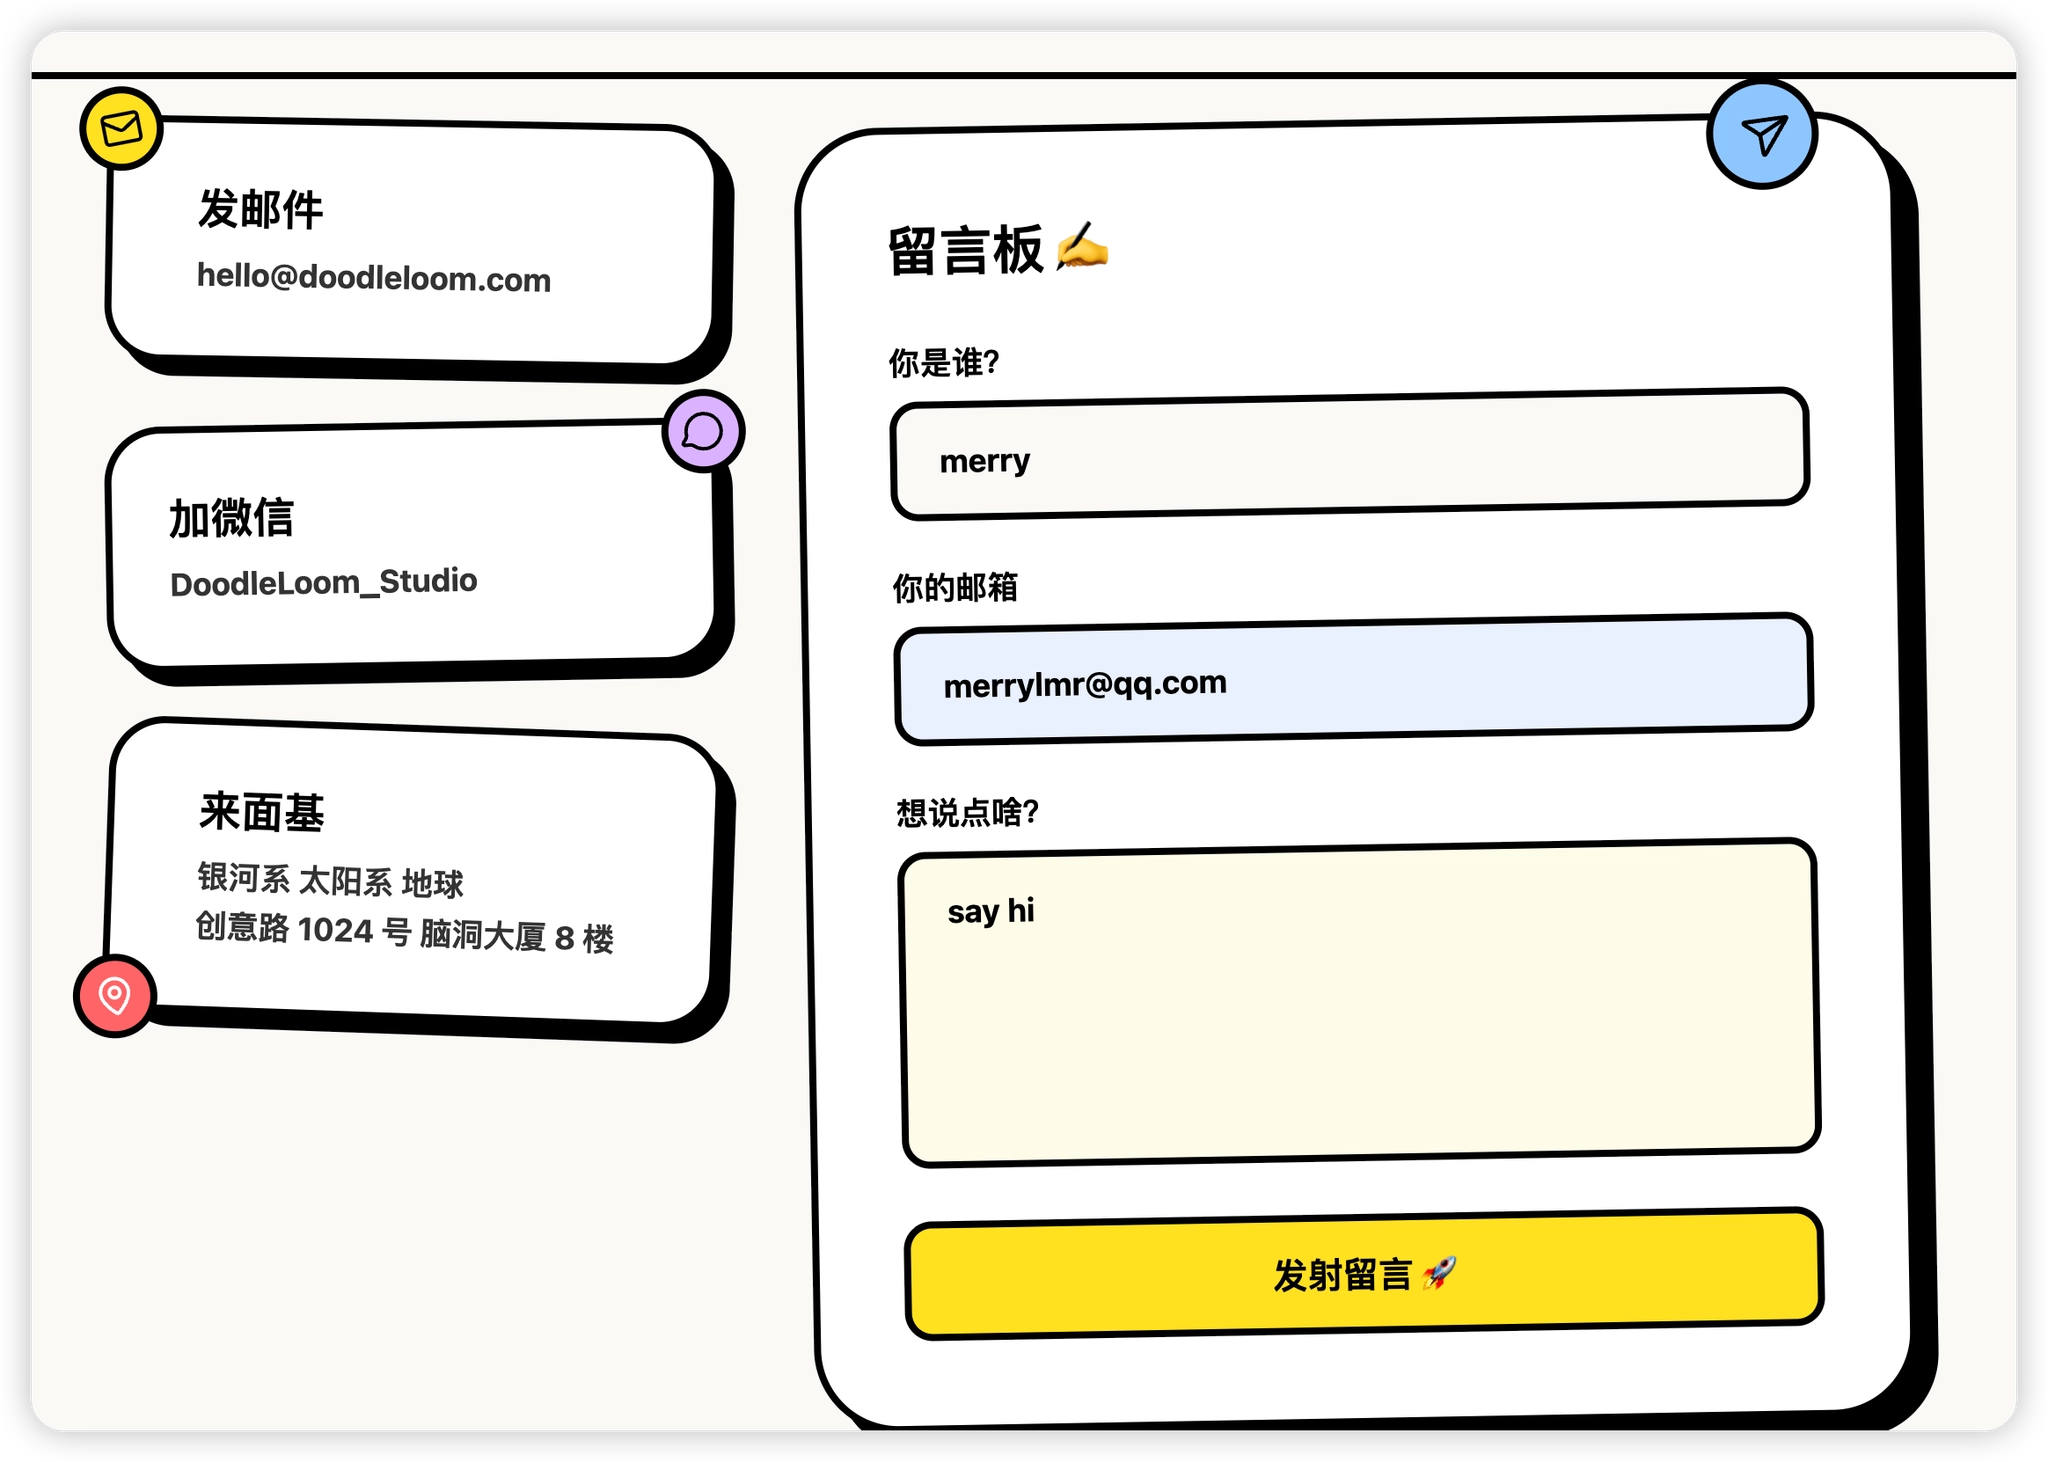
An online contact form
Ensure the design remains consistent with the homepage’s doodle-style aesthetic.
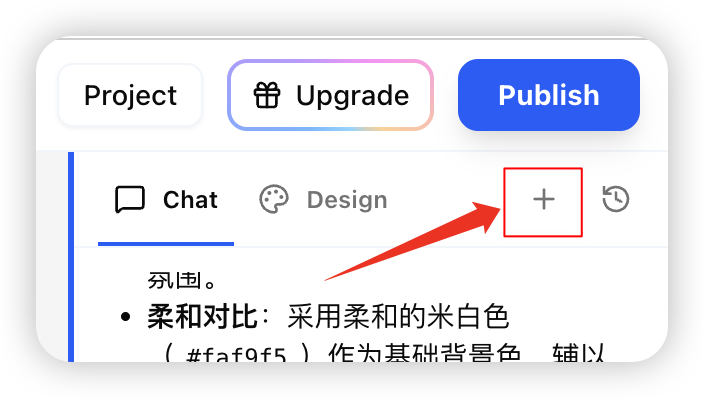
Tip: Start a new chat for new pages (click "+") to save context.
Once generated, the new page entry appears in the site structure.
Form Functionality
Forms on the Contact page are fully functional and can collect user data.
You can:
View auto-generated forms (e.g., Contact Form) in the Forms Tab.
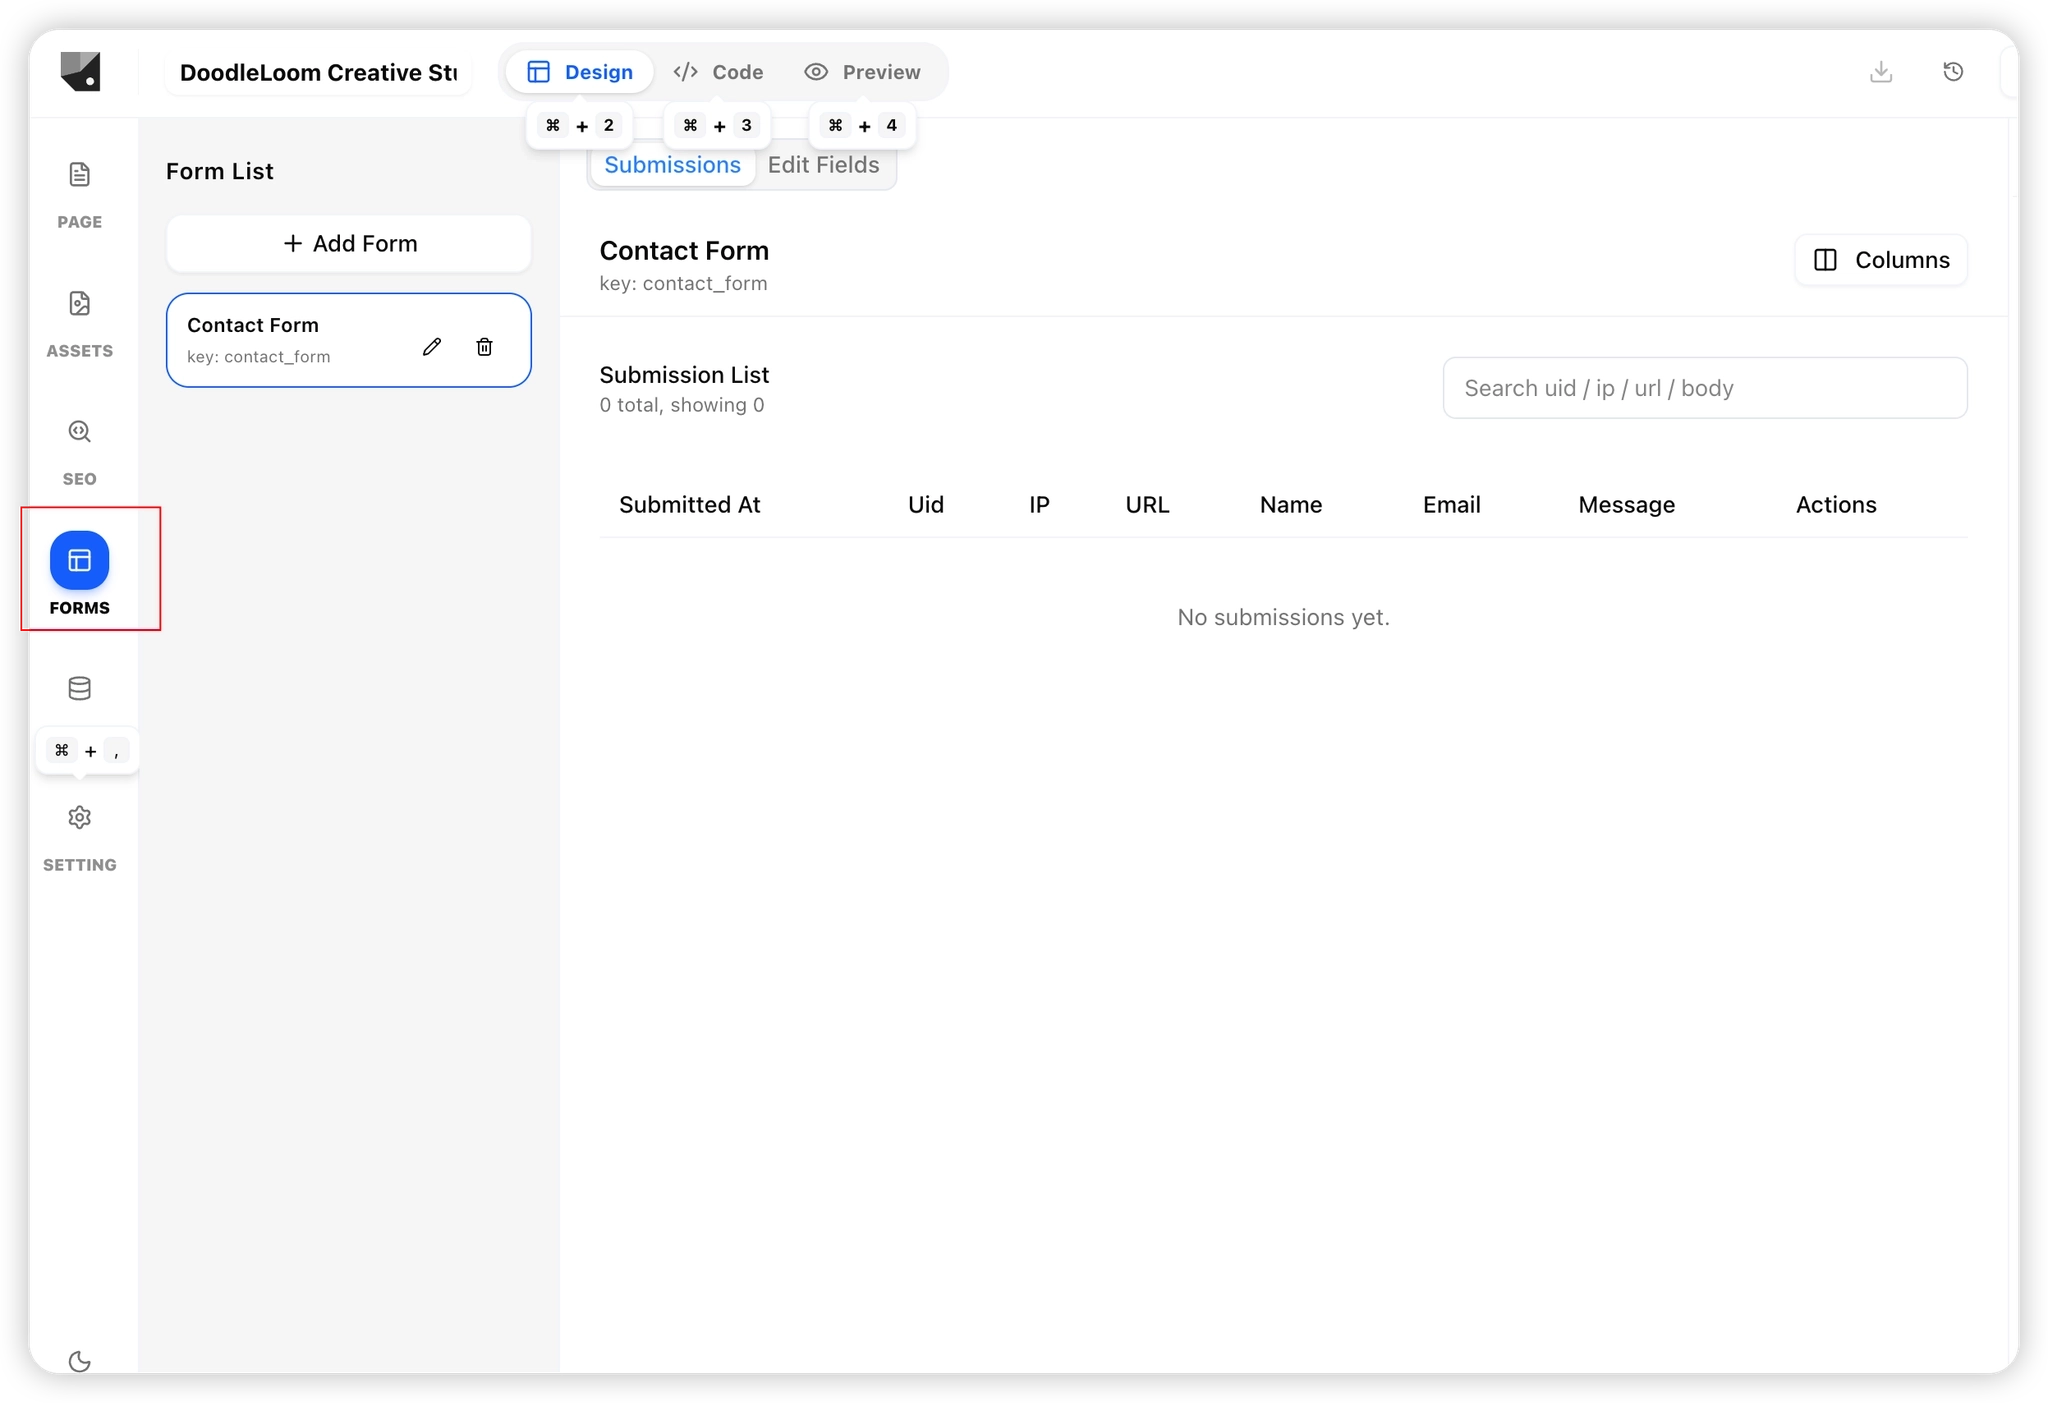
Inspect field structures.
Submit test data in Preview.
Check collected data in the backend.
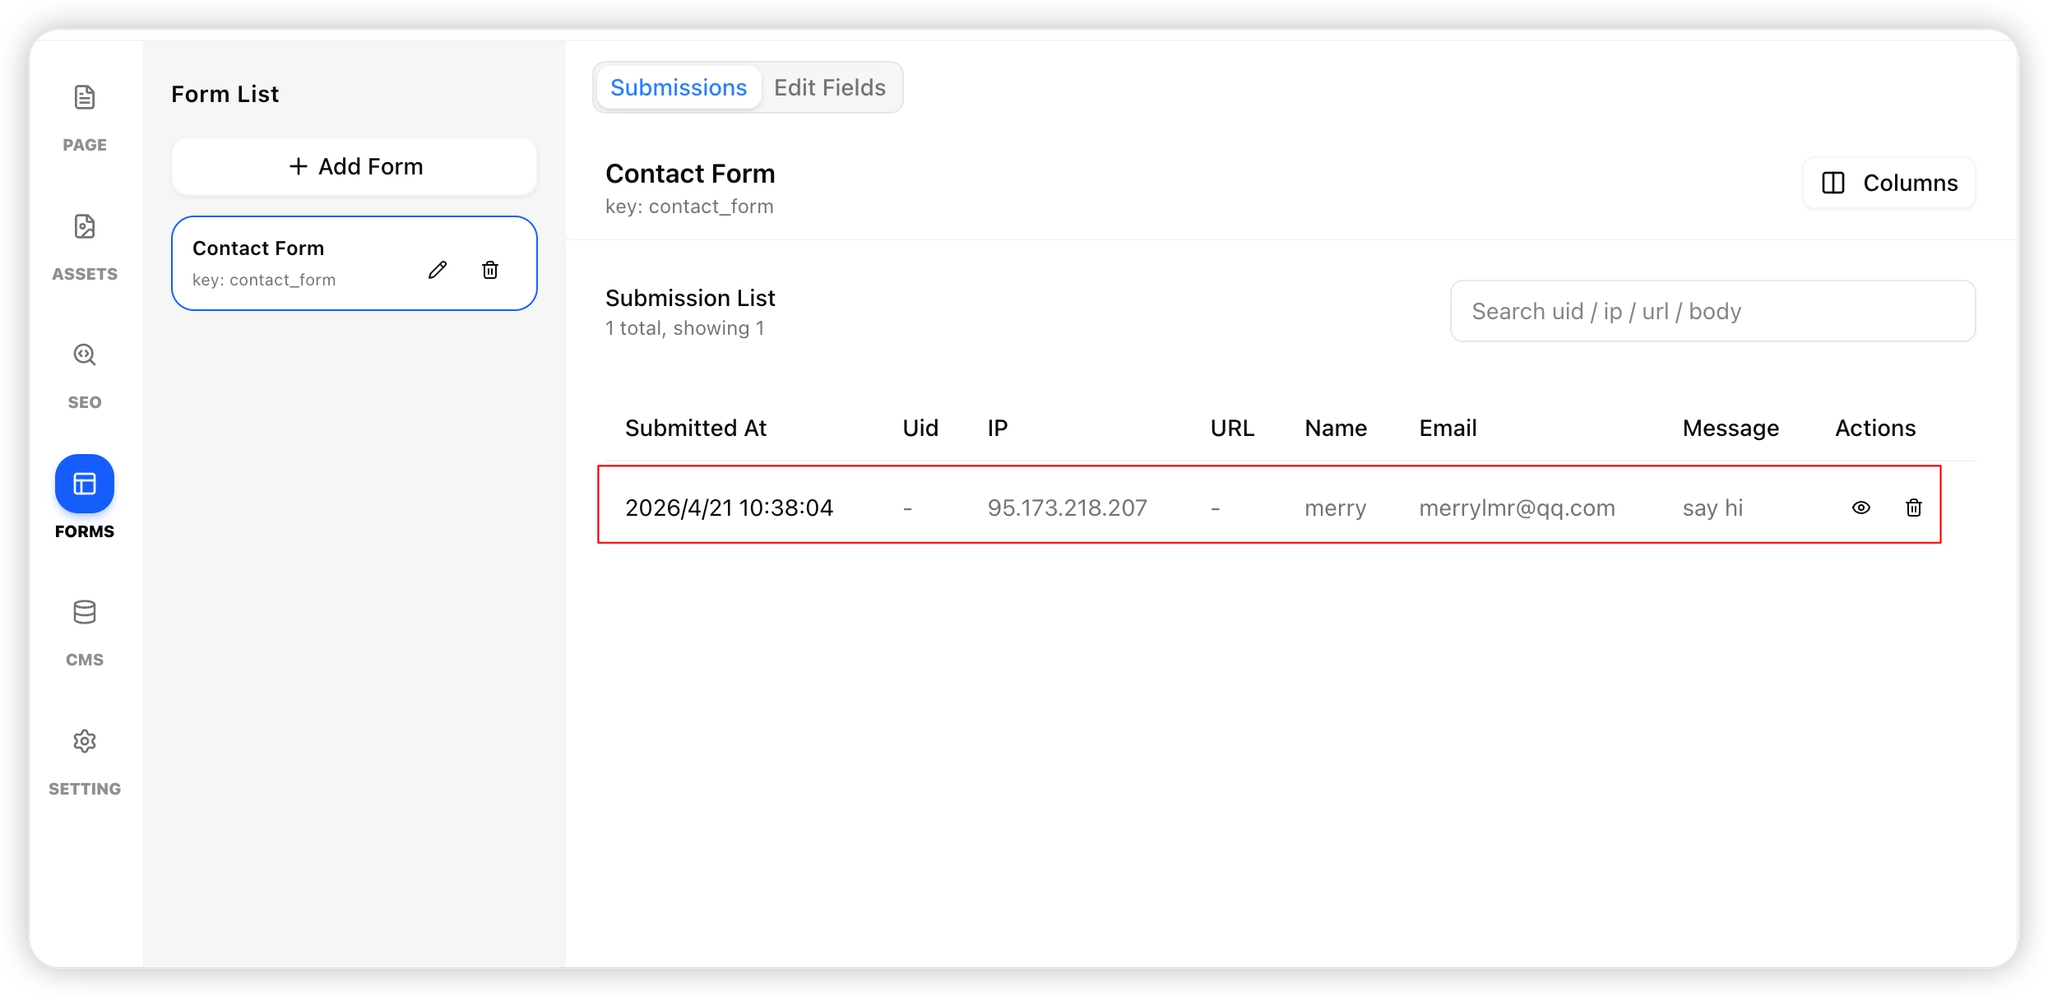
(Forms will be covered in detail in later tutorials.)
Content Editing
Talizen offers two ways to edit content: Direct Editing and AI Editing, allowing you to choose the best approach for different scenarios.
Direct Editing: Select a component (such as text or an image) and double-click to enter edit mode. You can then modify the content directly in the pop-up input field, with changes reflected in real time on the page.
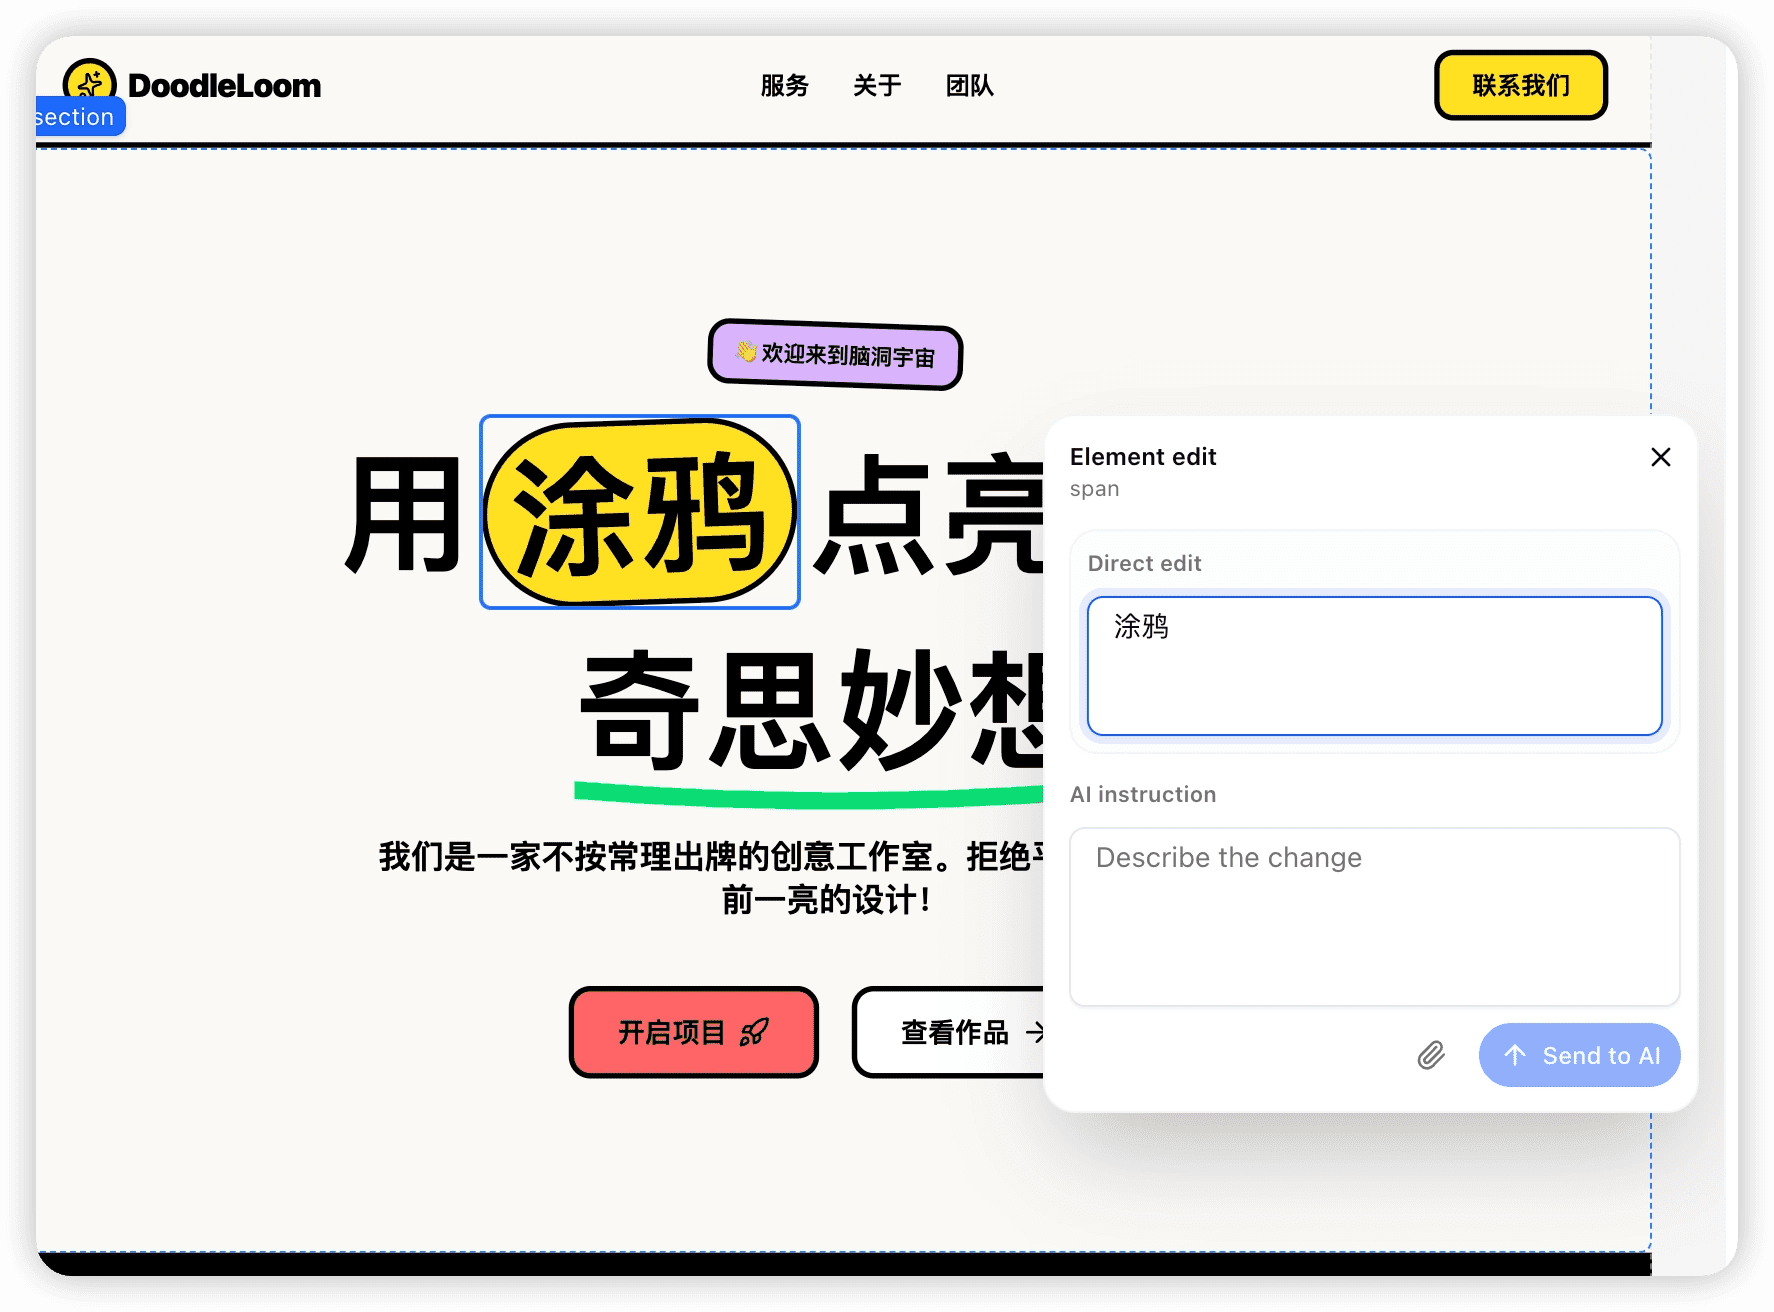
Edit with AI: Some components don’t provide a direct input field (as shown below). In these cases, you can use AI to make changes:
Describe your desired edits in the input field
Submit your request, and the AI will automatically update the content accordingly
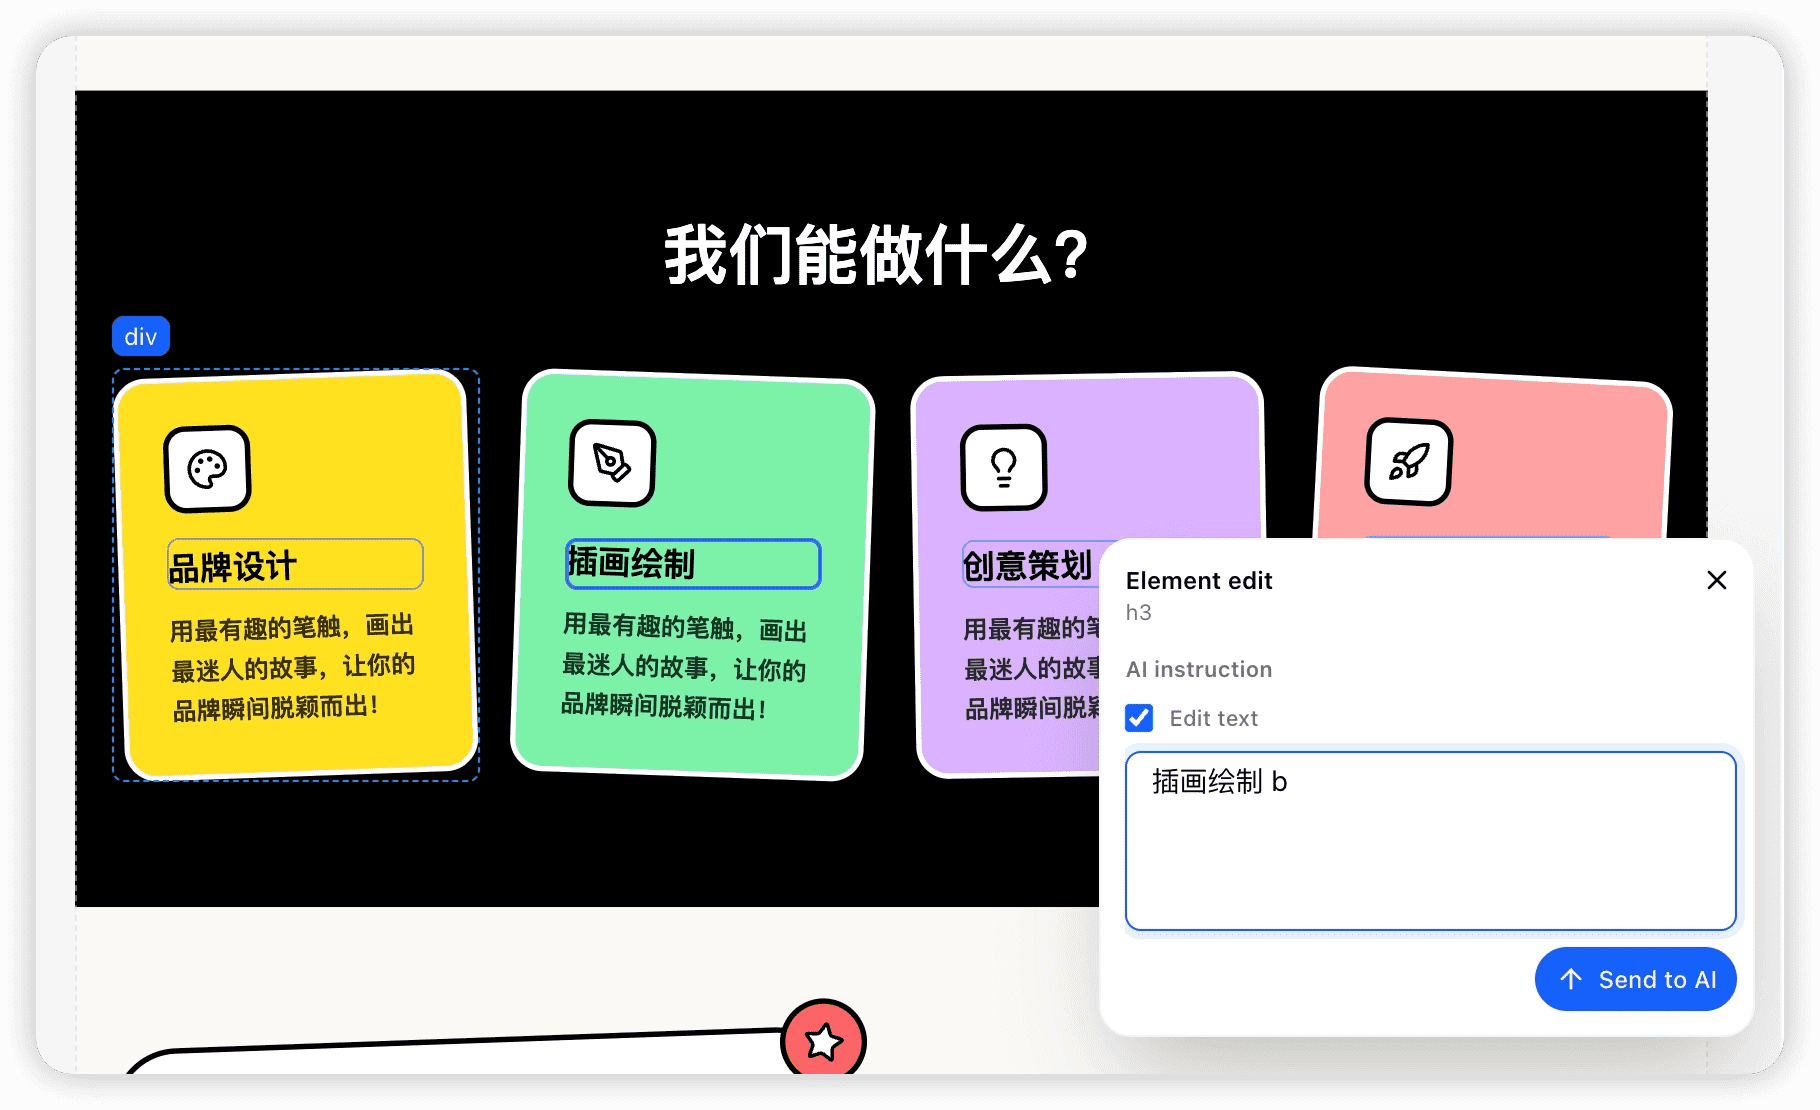
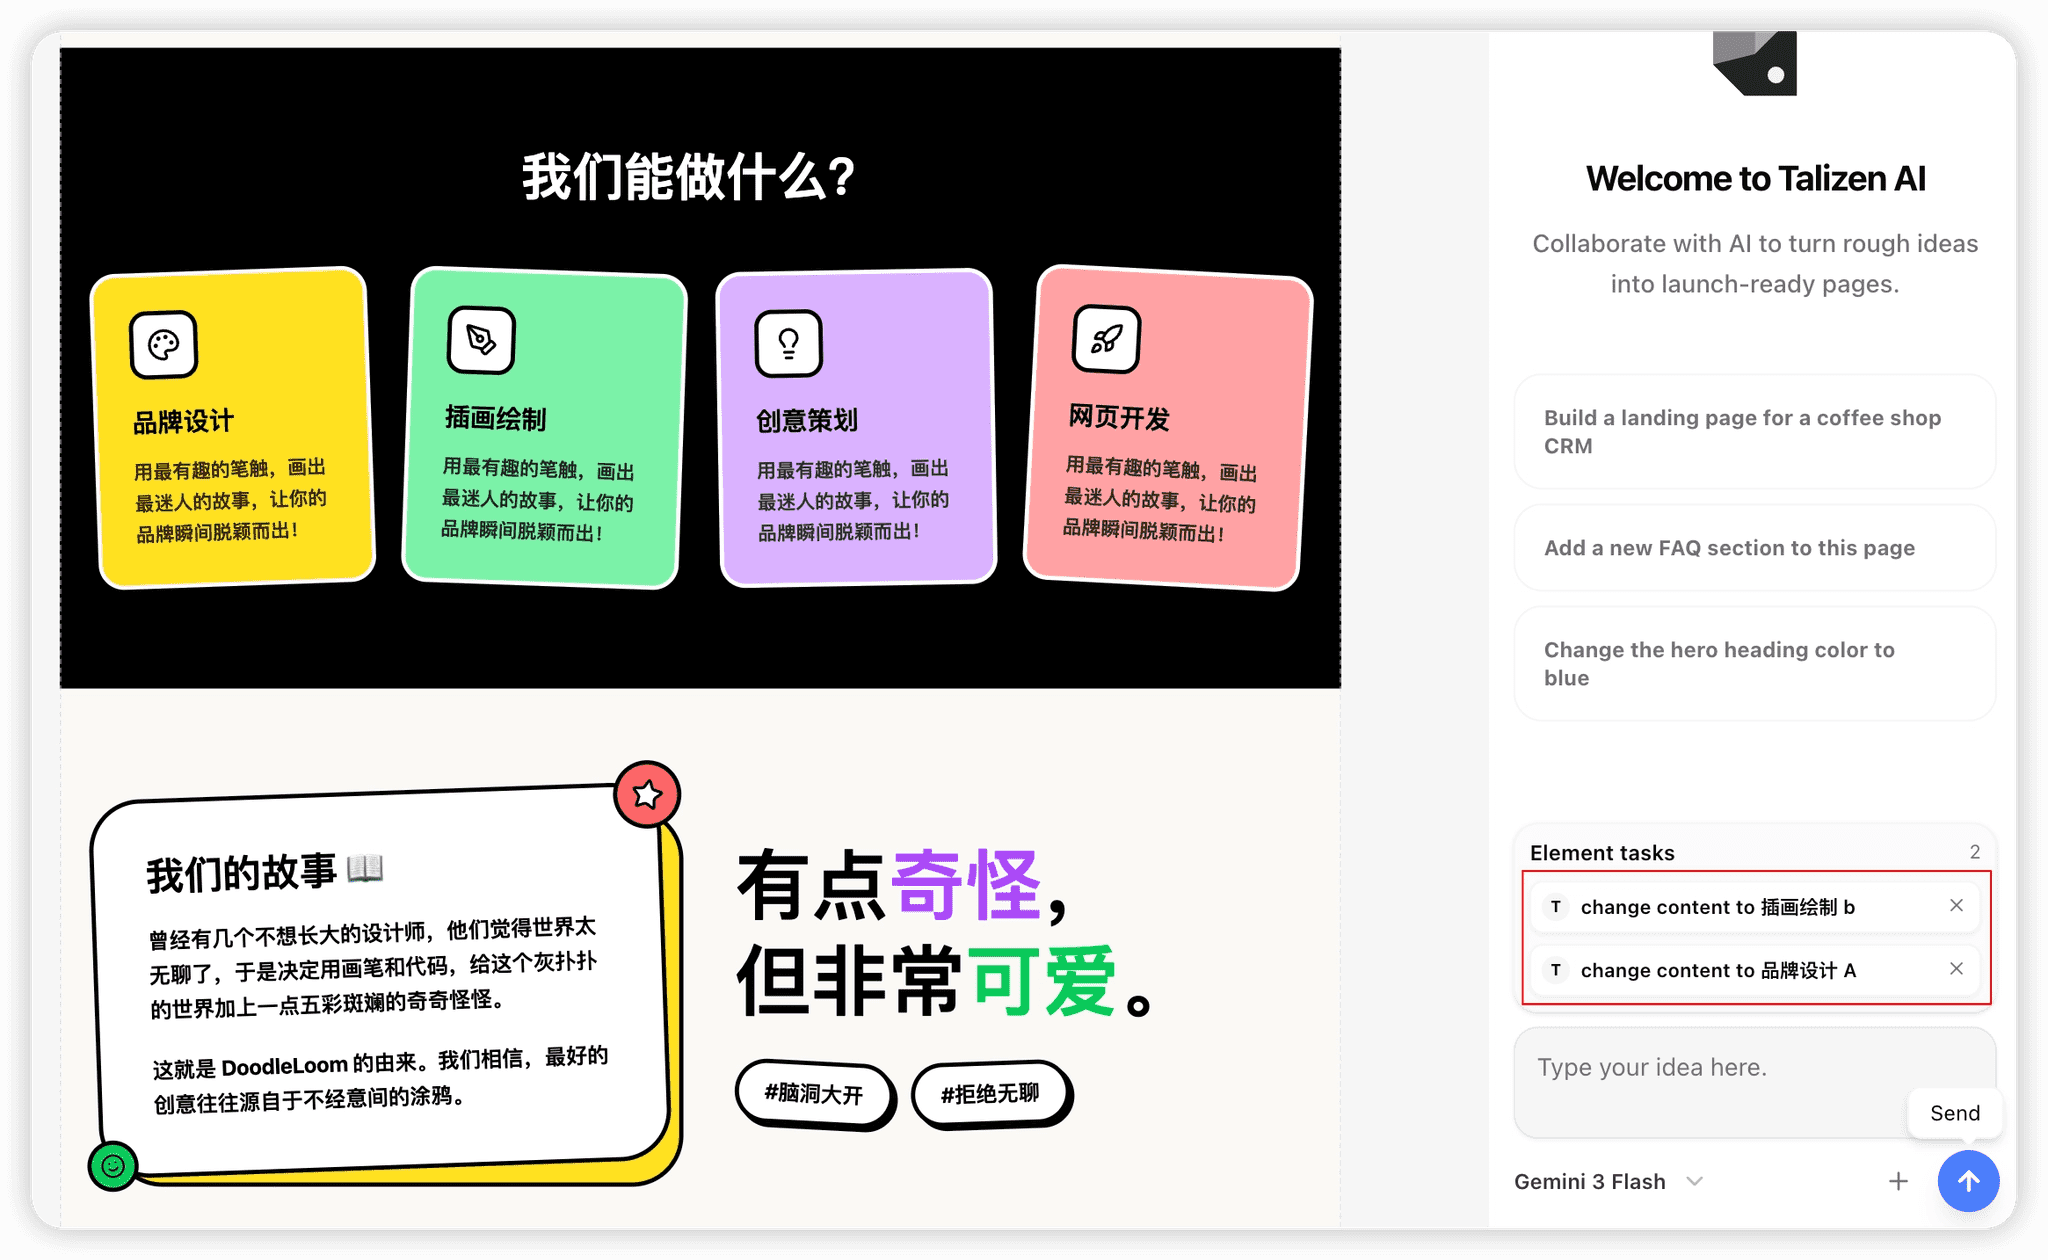
Bulk Editing: You can adjust content in multiple places and submit everything to AI in one go (as shown below).
Supports editing multiple components at the same time
Submit all changes in a single request for AI to process, improving efficiency and consistency
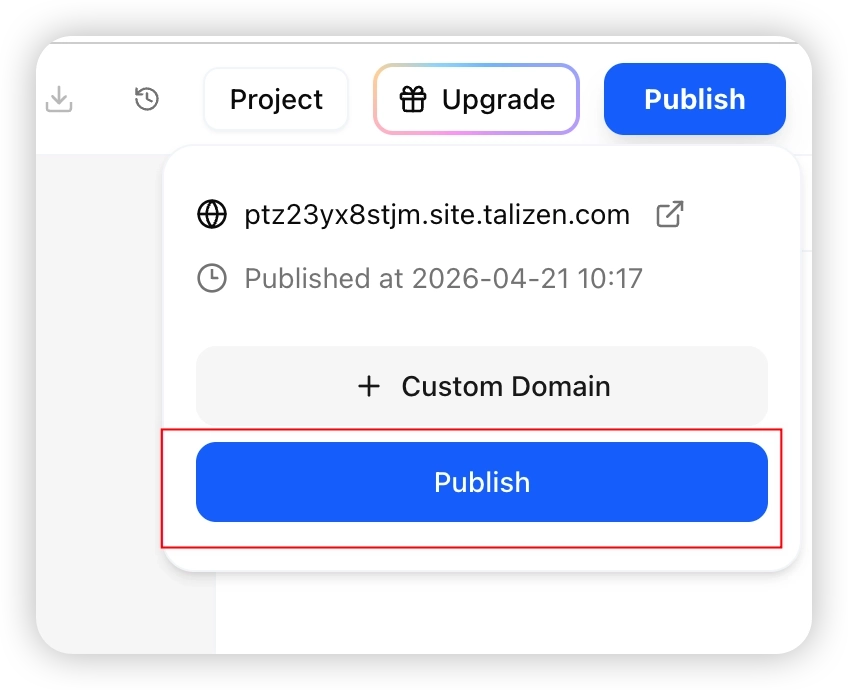
Step 4: Publishing & Access
Once editing is complete:
Click Publish in the top right.
Confirm publishing.
Access your site using the provided domain.
Summary
Talizen core flow:
Input Requirements → Auto Generate → Chat Adjustments → One-click Publish
Quickly go from idea to live site without manual environment setup.