Import Figma Designs into Talizen
This tutorial explains how to import a Figma design into Talizen and quickly generate a live, accessible website.
1. Design Preparation Requirements
To get the best import results, follow these guidelines in Figma:
Use Auto Layout to structure your design.
Use Fill / Hug for element sizing whenever possible, and avoid fixed dimensions when they are not necessary.
2. Steps
1. Install the plugin
Install this plugin in Figma:
UI to HTML - Talizen
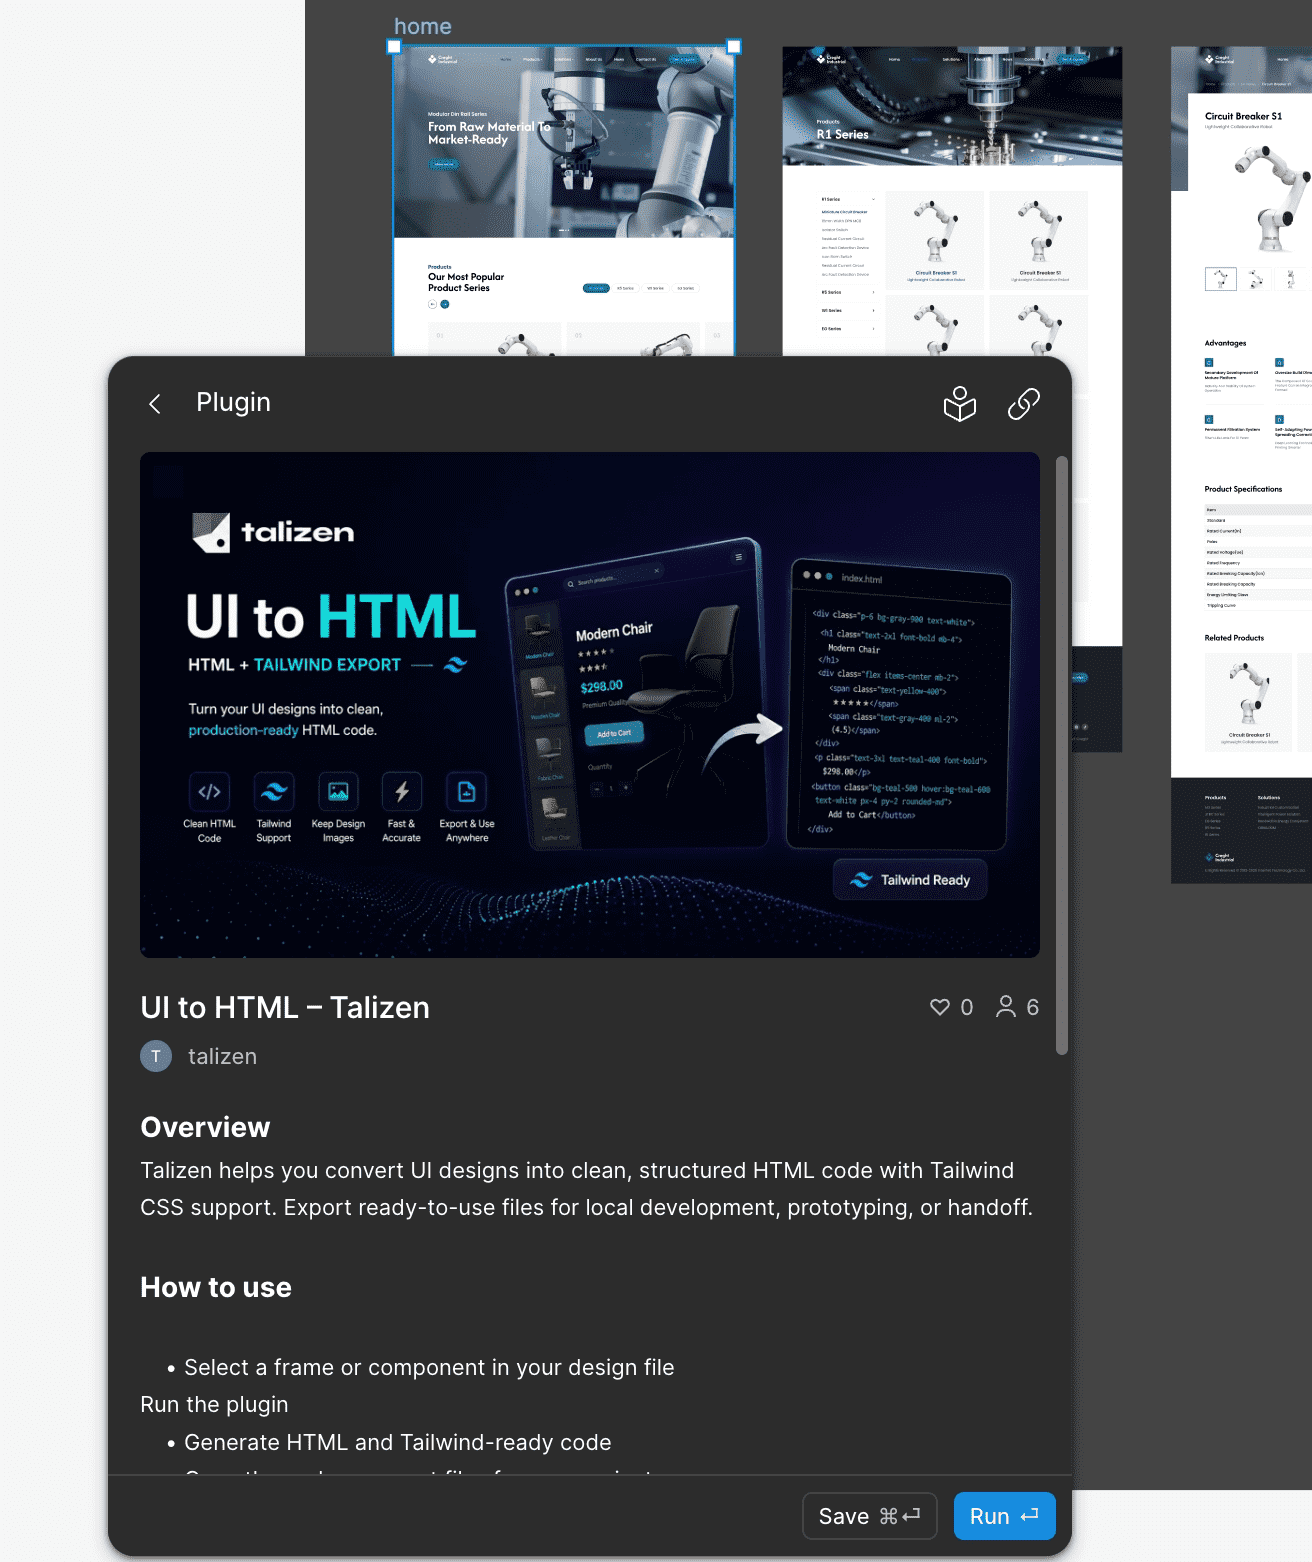
After installation, you can find it in the Figma plugin panel.
2. Export the design
Select the frames you want to convert. Multiple frames are supported.
Open the UI to HTML - Talizen plugin.
Click Convert to HTML.
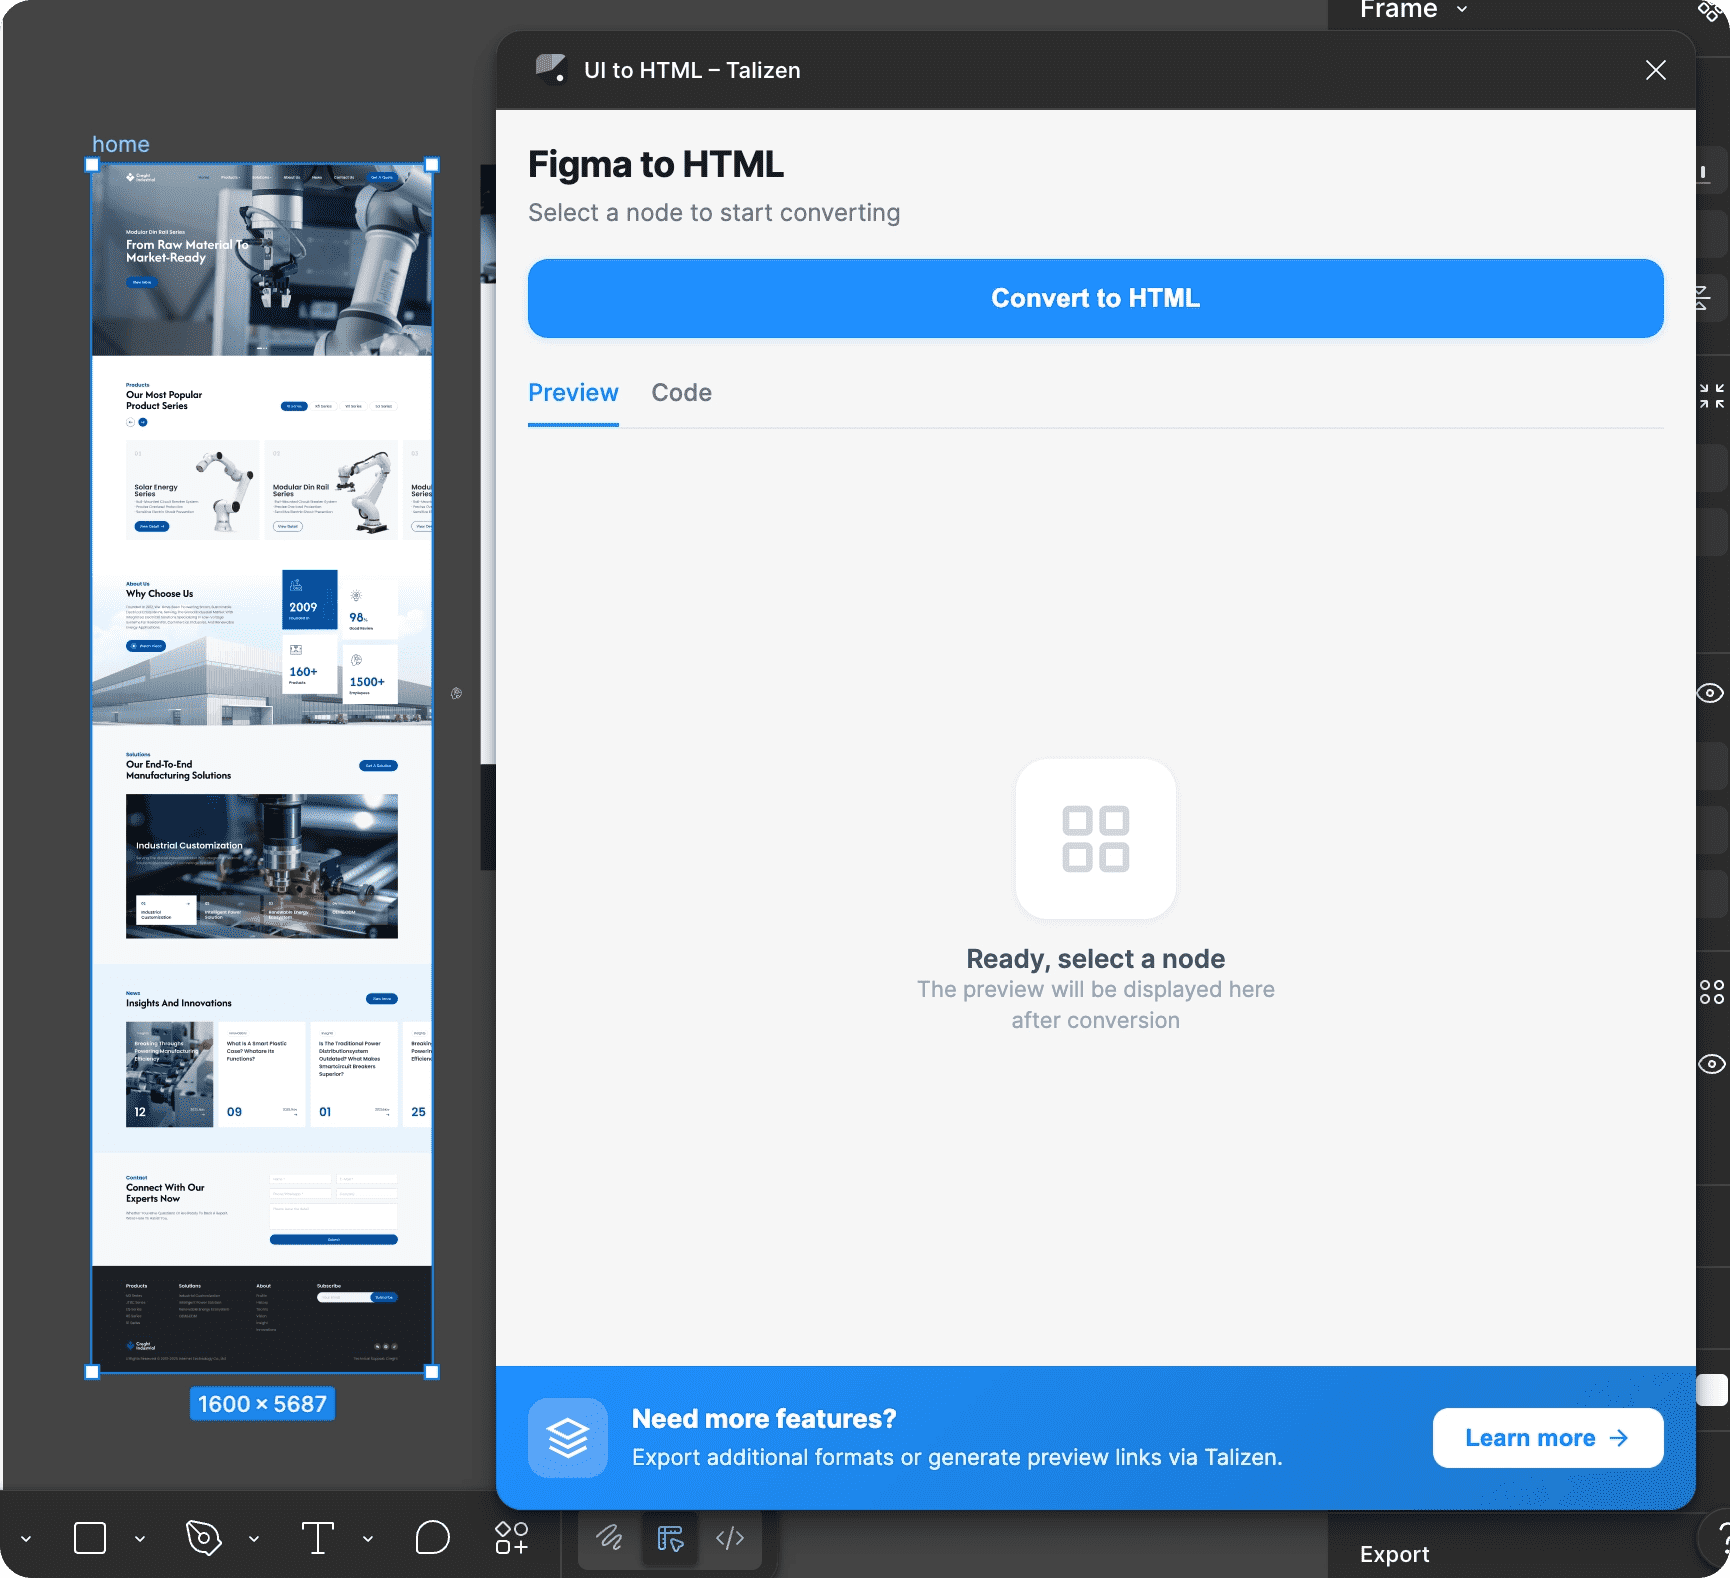
The system will automatically parse the current design structure.
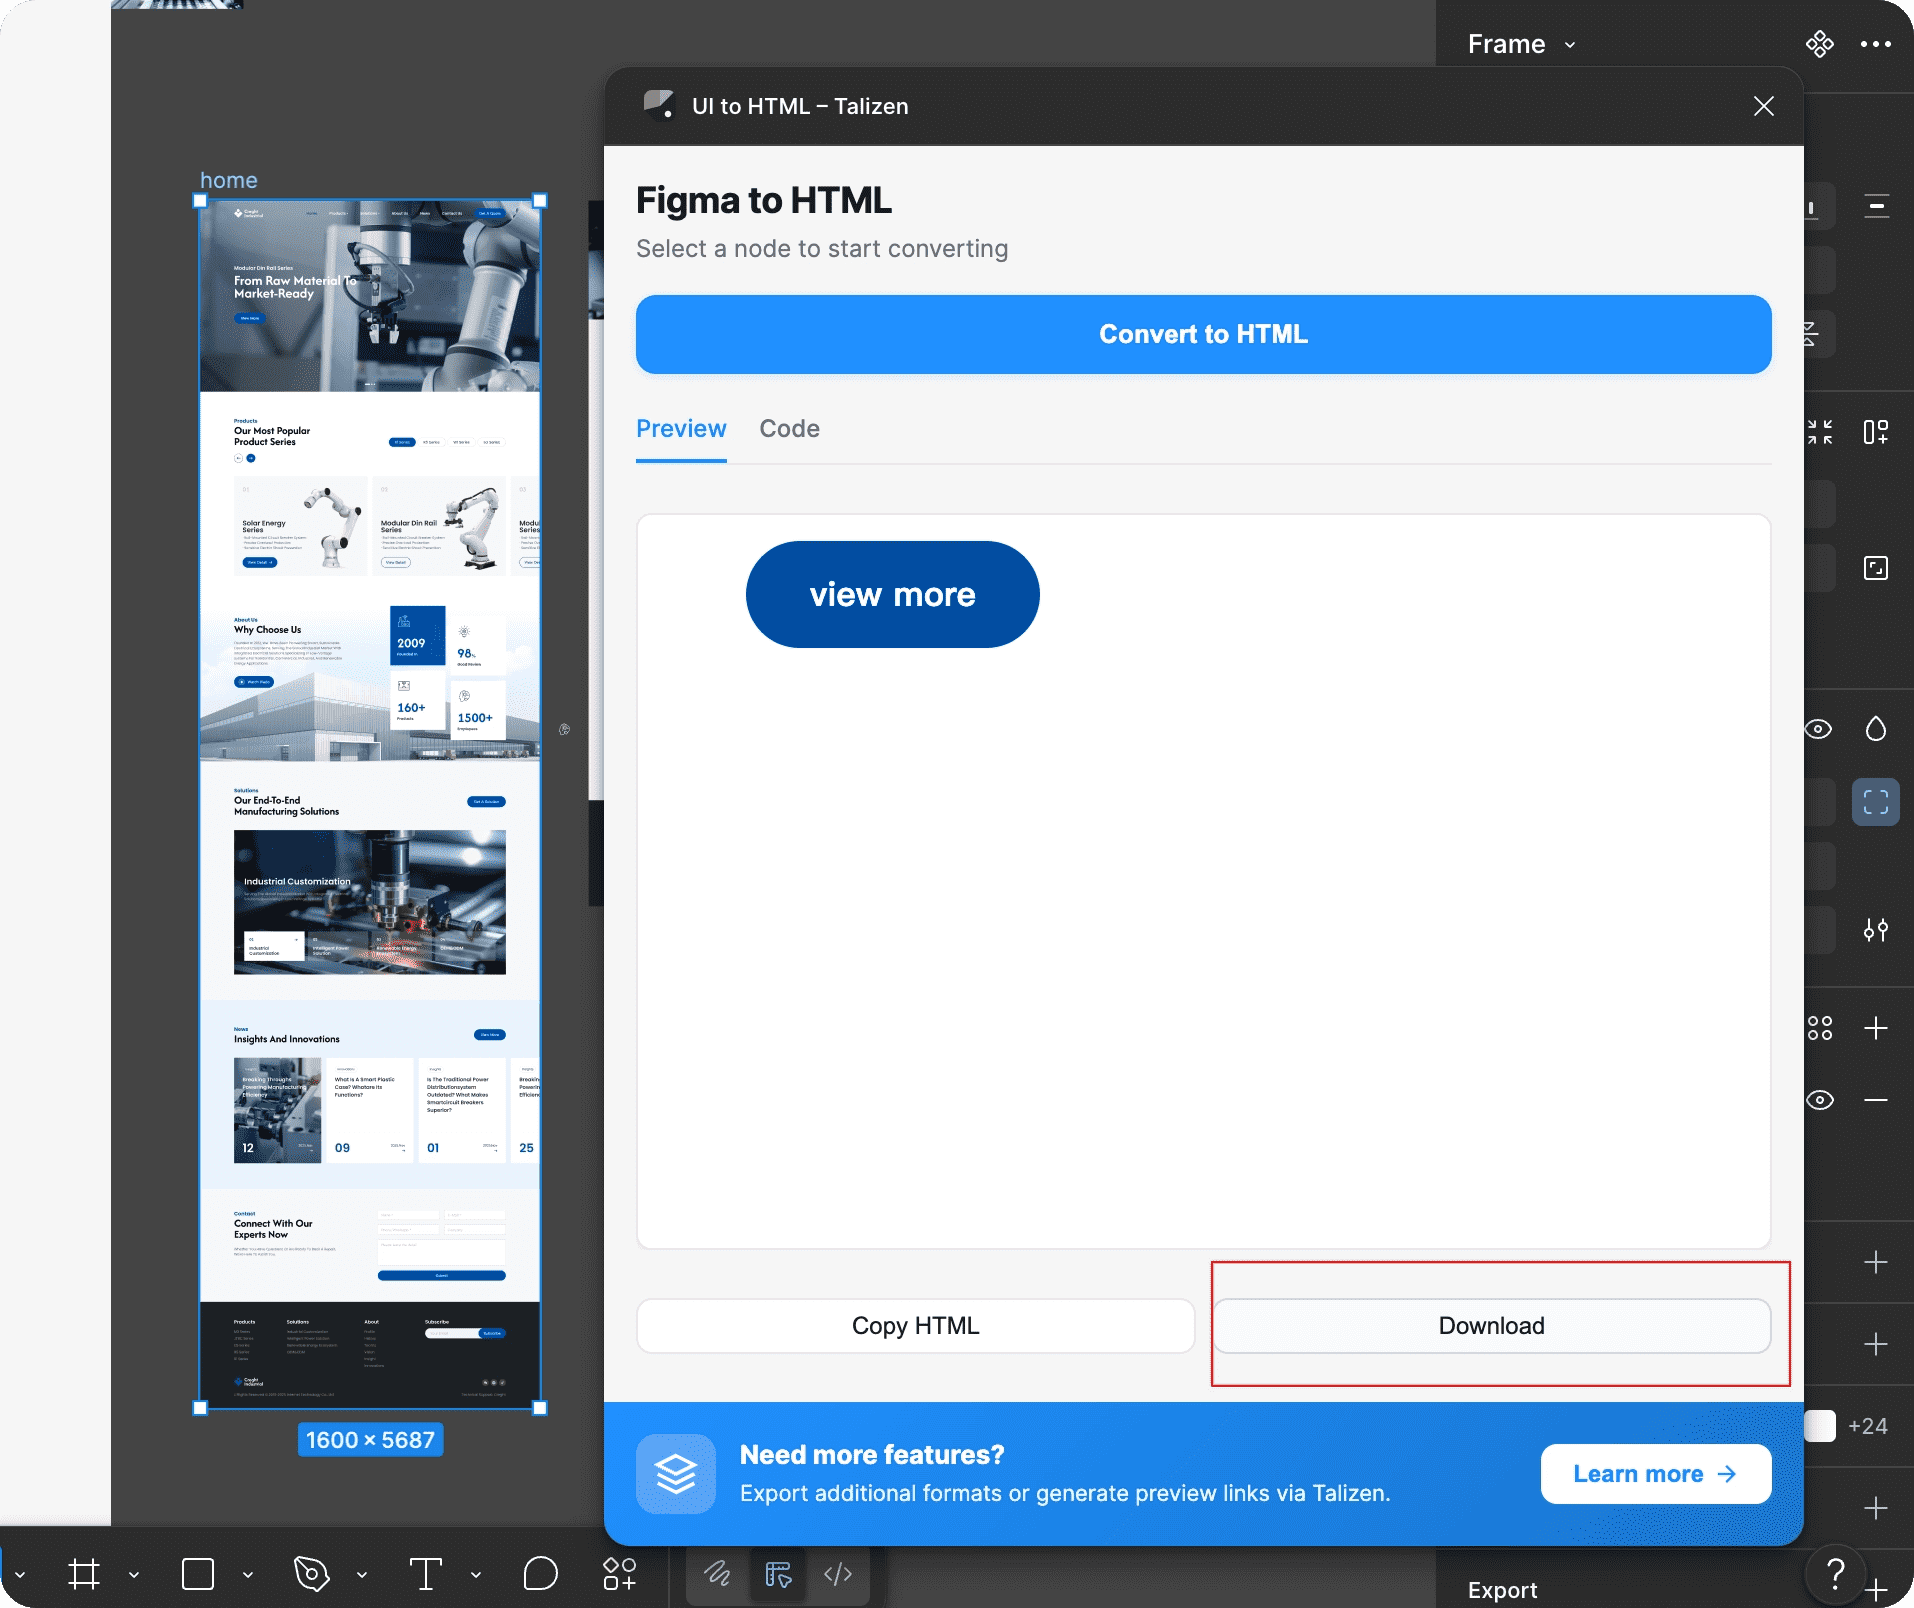
3. Download the HTML file
After parsing is complete:
Click Download.
Get the exported HTML ZIP package (.zip).
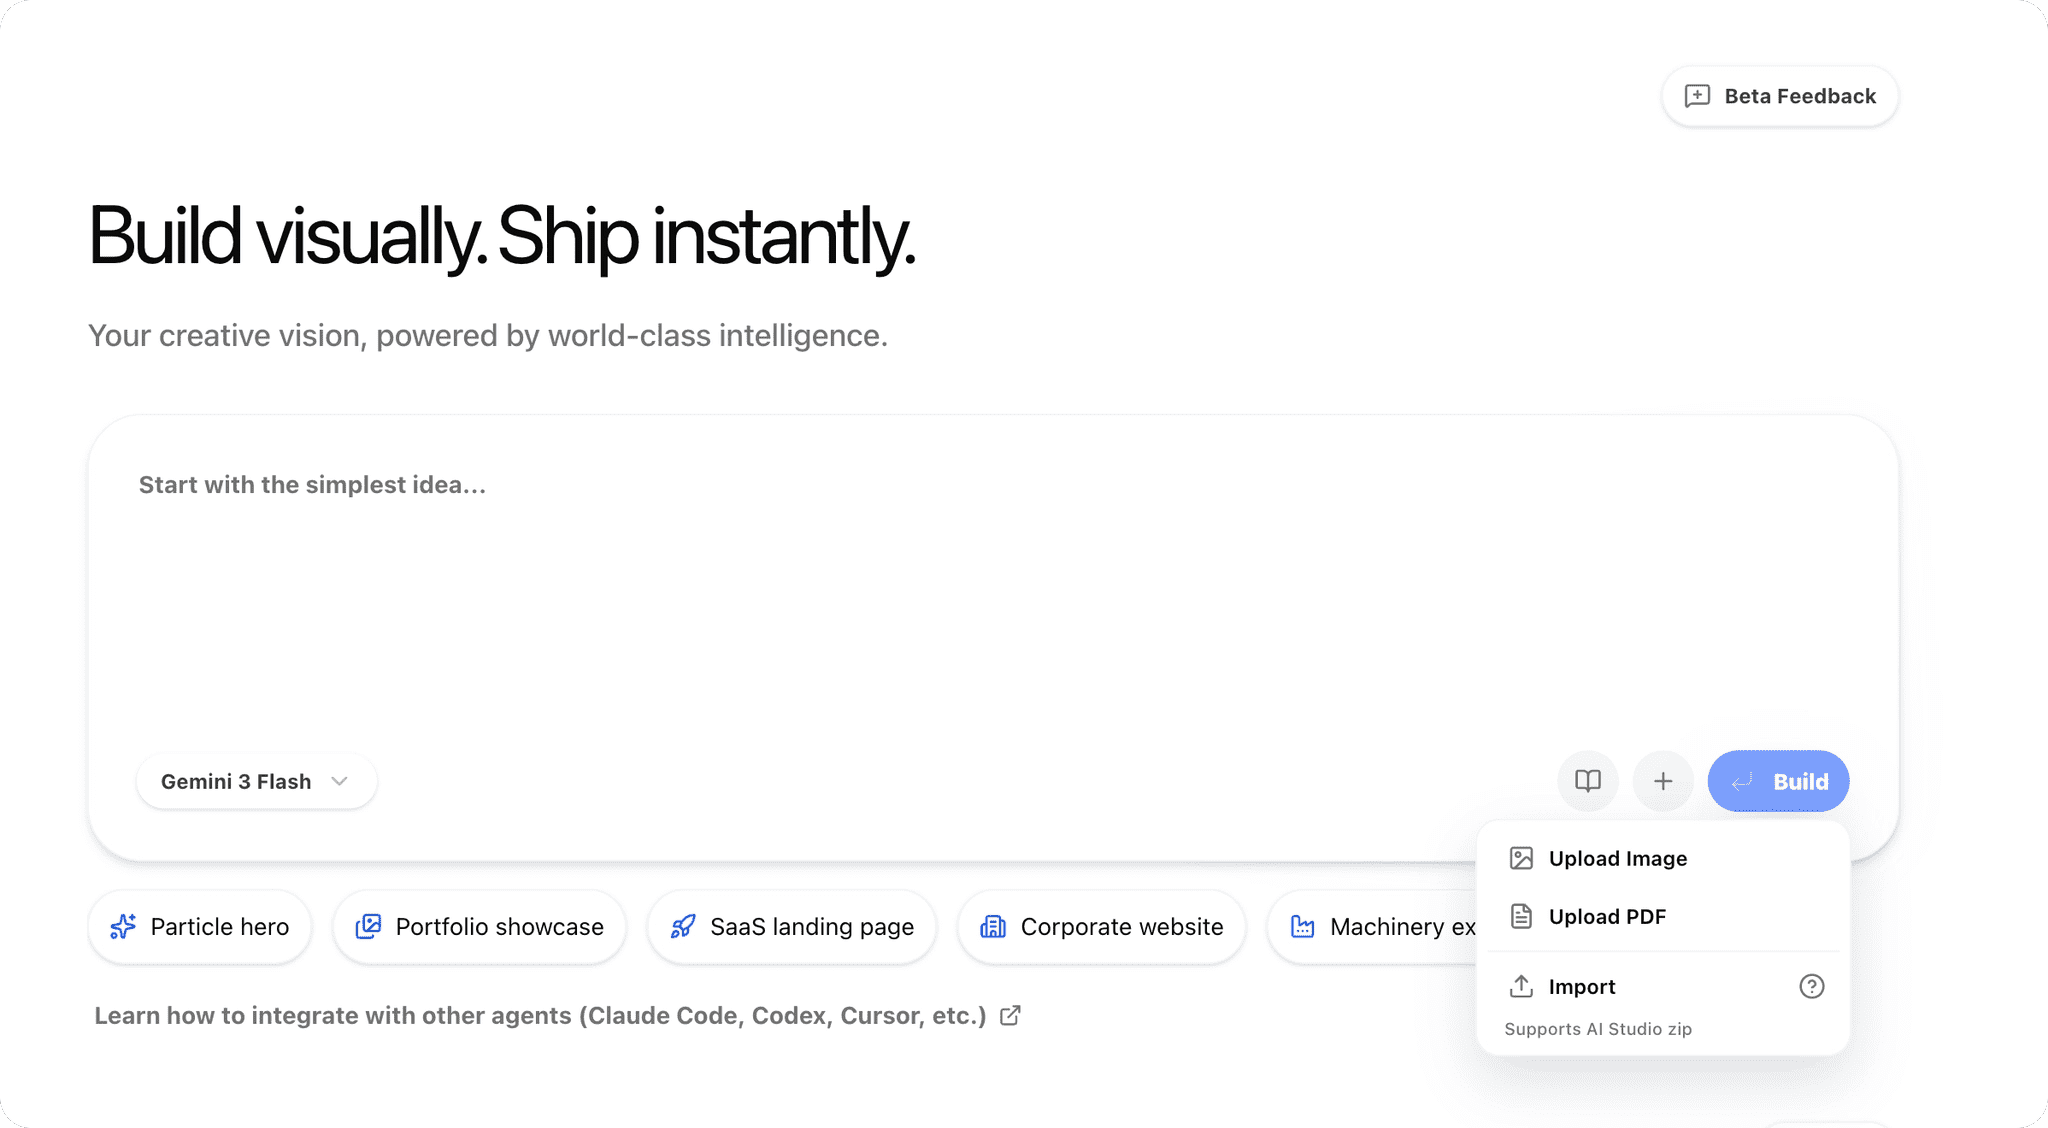
4. Import into Talizen
Complete the import in Talizen:
Open the Talizen editor.
Click Import below the input box.
Select the HTML ZIP package you just downloaded.
After importing:
Click the Build button in the bottom right.
Wait about 1 minute for the build to finish.
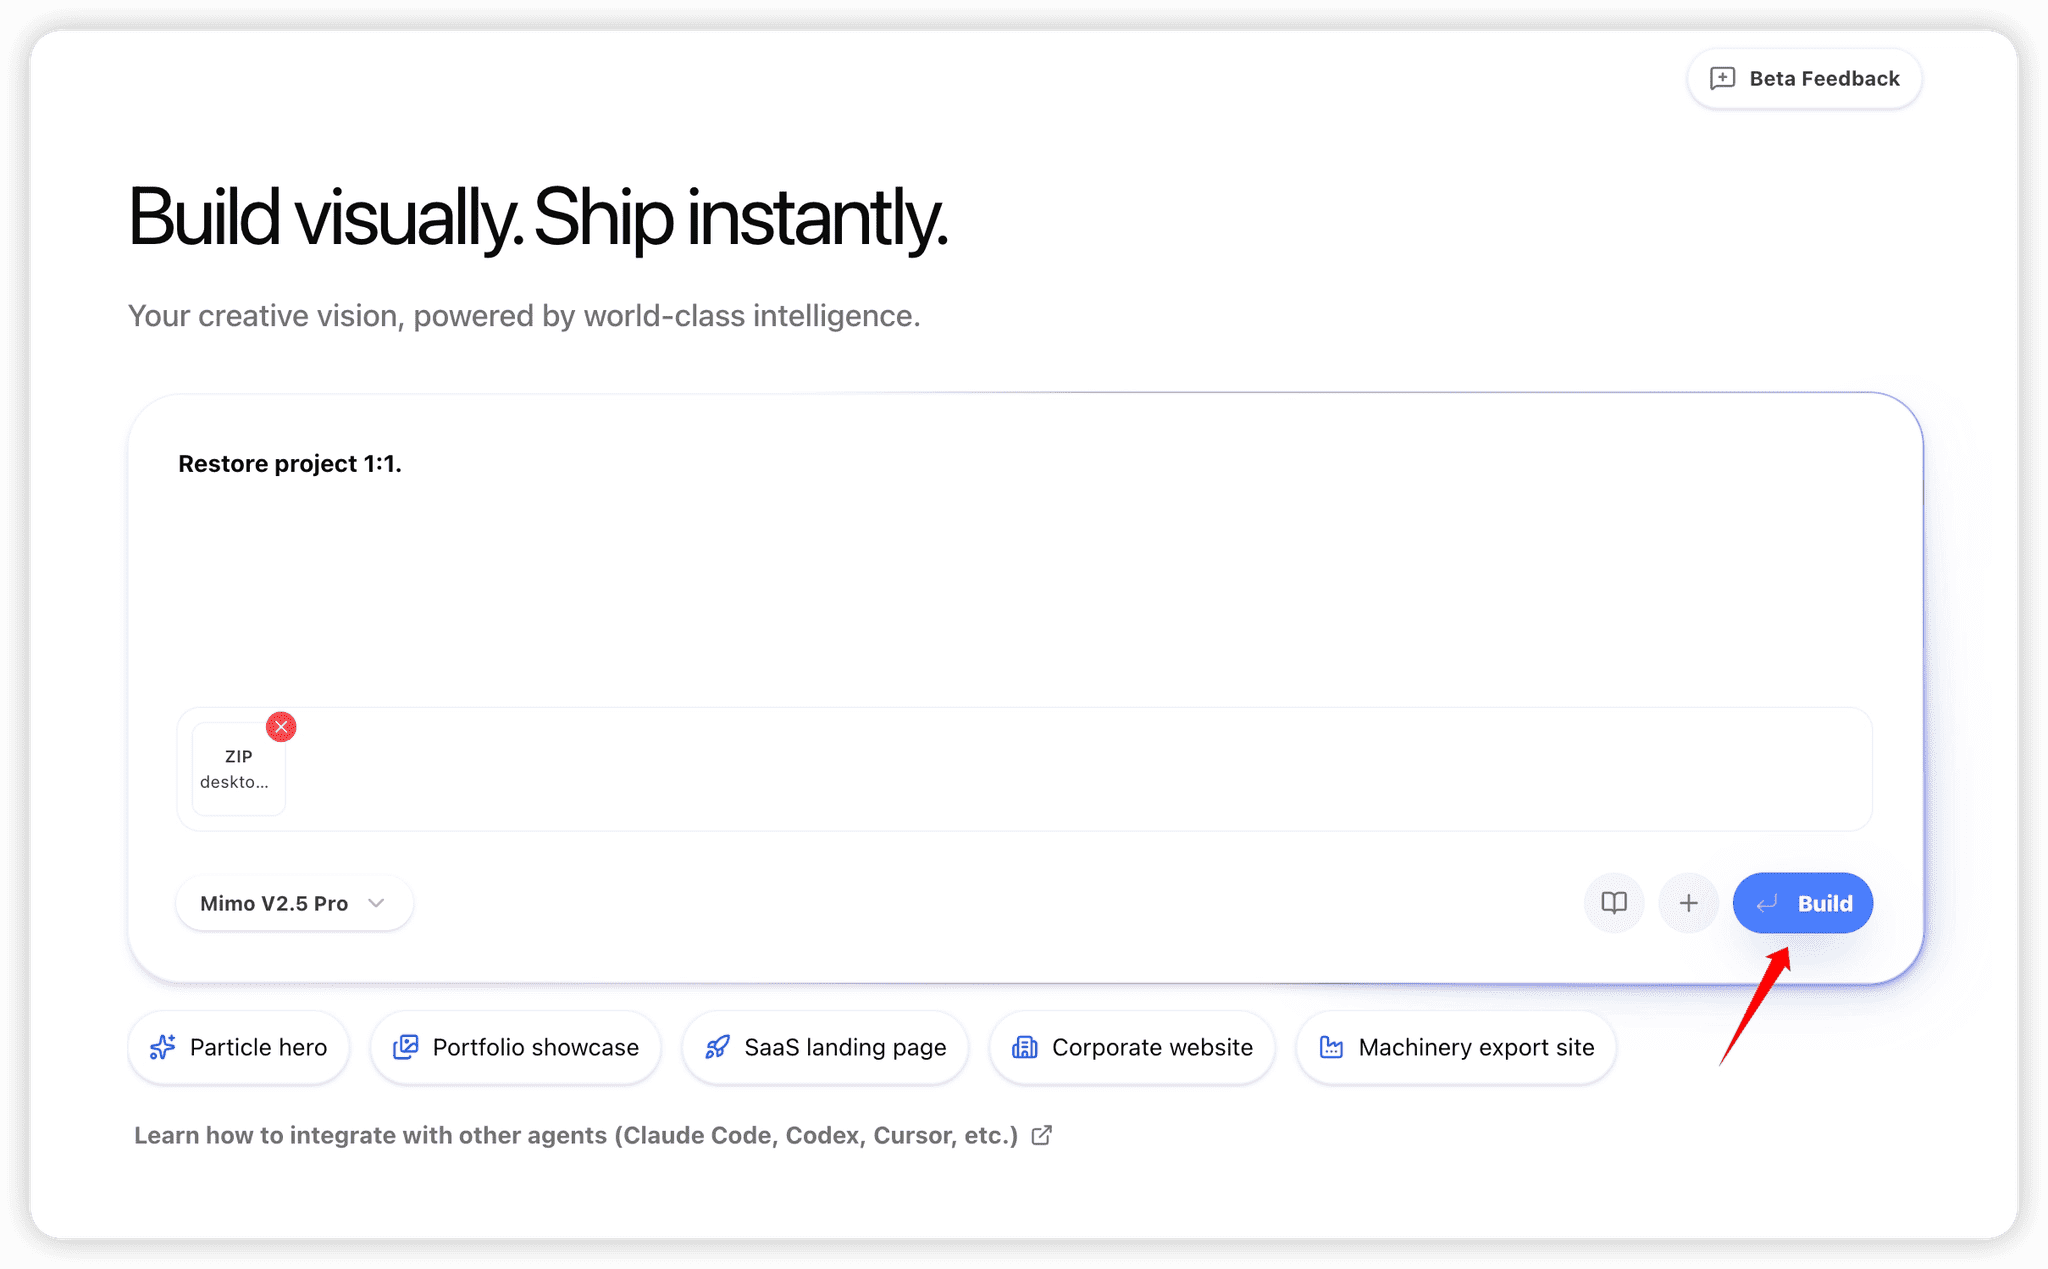
Once the build is complete, the page will be generated successfully.
3. Optimization Suggestions After Import
After importing, optimize the page module by module:
1. Complete functionality
Add a carousel.
Improve the mobile menu.
2. Connect data
Add forms.
Connect CMS content management.
3. Enhance motion
Add entrance animations for elements.
Improve interactive motion details.
4. Improve responsive behavior
Adjust layouts for different device sizes.
Make sure the mobile experience works well.
4. Publish the Website
After finishing page adjustments:
Click Publish in the top right.
Generate a live website with one click.
After publishing succeeds, you can access your website through the generated link.
Summary
With Talizen, you can:
Automatically convert Figma to HTML.
Optimize the page visually.
Publish the website with one click.
This greatly improves the workflow from design to launch.